How to Draw Icons: A Step-by-Step Process
Learning how to draw icons is the best entry point into vector design, because an icon is small enough to finish in one sitting but demanding enough to teach you precision with paths, curves, and alignment. This is a step-by-step process you can repeat for any icon: set up a grid, sketch the metaphor, build with basic shapes, refine on the pixel grid, and export a clean SVG. No freehand drawing skill required, icons are constructed, not painted.
This walkthrough assumes a vector tool like Adobe Illustrator, Affinity Designer, or free Inkscape. The principles are identical in all three. For the system-level rules behind a full set, grids, stroke weights, naming, see our companion icon design guide; here we focus on drawing a single icon well.
Step 1: Set Up Your Grid and Artboard
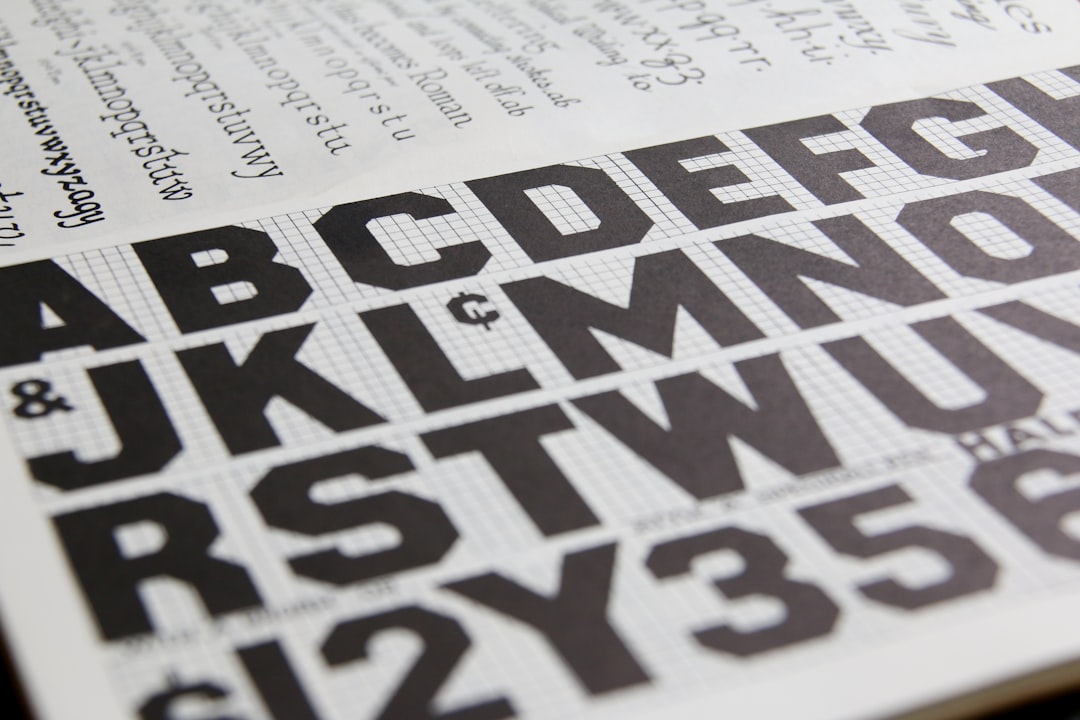
Create a 24×24 px artboard, the standard UI icon size, and turn on the pixel grid plus snapping. Add a 1 to 2 px padding margin on all sides so your icon never crowds the edges. If your tool supports it, drop in keyline shapes (a centered square, circle, and rectangle) as a faint background layer; these guide the overall size so every icon you draw feels visually equal to the next.
This setup is not optional busywork. The grid is what makes your icon snap cleanly to whole pixels, which is the difference between a crisp icon and a slightly blurry one at small sizes.
Step 2: Sketch the Metaphor First
Before touching the pen tool, decide what the icon should communicate and rough it out, on paper or a scratch layer. Reach for established conventions: a magnifying glass for search, a gear for settings, an envelope for mail. Clarity beats cleverness almost every time, so do not invent a new symbol for a concept that already has a universal one.
Keep the sketch simple. An icon has to read at 16 px, which means three or four shapes at most. If your concept needs fine detail to be understood, it is probably too complex for an icon and belongs in a larger illustration instead.
Step 3: Build With Basic Shapes
Construct the icon from primitives, rectangles, circles, lines, rather than freehand drawing. Most icons are surprisingly simple combinations: a house is a triangle on a square; a clock is a circle with two lines. Use your tool’s shape builder or pathfinder operations (unite, subtract, intersect) to combine and cut these primitives into the final form.
Working with shapes instead of freehand paths gives you clean geometry, perfect circles, straight edges, exact angles, that is impossible to achieve by hand. This is why non-illustrators can still produce professional icons; you are assembling, not drawing.
Step 4: Apply a Consistent Stroke Weight
If you are making line (outline) icons, set a single stroke weight, 1.5 px or 2 px on a 24 px grid, and apply it to every path in the icon, including internal details. Use a consistent line cap (round or butt) and corner style. Consistency here is everything: every future icon in your set must use this exact same weight, or the set will look mismatched.
For filled icons, skip strokes and work entirely in solid shapes, but keep the same visual heft across the set so the icons feel related.
Step 5: Refine for Optical Balance
Now trust your eye over the math. Center the icon optically, not by its bounding box: a play triangle centered mathematically looks shifted left, so nudge it right until it feels centered. Check that strokes sit on whole or half-pixel boundaries, align internal elements, and balance the negative space. Zoom out to the actual display size frequently, what looks fine at 400% can fall apart at 100%.
This refinement pass is where amateur icons become professional ones. Spend more time here than on any other step.
Step 6: Test at Real Size
Place your finished icon at the sizes it will actually appear, 16 px, 24 px, 32 px, on both light and dark backgrounds. Strokes that vanish, details that turn to mush, or shapes that lose their meaning all surface at small sizes. If the icon fails at 16 px, simplify it: remove a detail, thicken a stroke, or enlarge the key shape until it reads instantly.
Step 7: Export a Clean SVG
Export as SVG, the web vector format that stays sharp at any size and recolors with CSS. Before exporting, clean the file: outline strokes if your implementation needs fills, remove hidden layers, flatten stray groups, and confirm paths sit on the pixel grid. Run the SVG through an optimizer like SVGO to strip bloated code. A tidy, grid-aligned SVG is the deliverable that actually works in production.
That is the full loop. Drawing icons is a repeatable craft, and the more you run this process, the faster and more confident your path work becomes, skills that carry directly into every other vector style covered in our overview of illustration styles every designer should know.
Frequently Asked Questions
What software do I need to draw icons?
Any vector editor works: Adobe Illustrator is the industry standard, Affinity Designer is a one-time-purchase alternative, and Inkscape is free and open source. All three support the grid setup, shape-building, and SVG export that icon design requires. The process and principles are identical across them.
Do I need drawing skills to make icons?
No. Icons are constructed from basic shapes, rectangles, circles, and lines, combined with pathfinder operations, not drawn freehand. This is why designers with limited drawing ability can still produce professional icons. The skill is precision and optical judgment, not illustration talent.
What size should I draw icons at?
Draw UI icons on a 24×24 px artboard with 1 to 2 px of padding, the most common standard. Always test the finished icon at the sizes it will actually appear, typically 16, 24, and 32 px, since details and strokes that look fine when zoomed in can break down at small sizes.
How do I keep my icons consistent?
Use the same grid, the same stroke weight, the same corner radius, and the same line-cap style for every icon. Build keyline shapes so icons share optical sizing, and refine each one for optical balance rather than mathematical centering. Consistent rules applied to every icon create a cohesive set.