Adobe InDesign Basics for Beginners
If you need to lay out anything with more than a couple of pages, a brochure, a booklet, a report, a magazine, the right tool is Adobe InDesign. Learning InDesign basics means understanding a handful of production features that make multi-page documents fast to build and painless to revise. This guide covers the essentials and a clean getting-started workflow.
InDesign sits in a different category from screen-design tools. If your work is interface or web design, start with our pillar guide to Figma for beginners instead. InDesign earns its place the moment you have real, flowing text across many pages.
What InDesign Is Best For
InDesign is Adobe’s professional page-layout application. It is the industry standard for print and digital publications where text and images need to be arranged precisely across multiple pages. Books, magazines, brochures, newsletters, annual reports, and PDFs all live comfortably here.
It is not a drawing tool or a photo editor. You bring artwork in from Illustrator and edited photos in from Photoshop, then assemble and typeset them in InDesign. Thinking of it as an assembly and typesetting environment, rather than a creation tool, is the fastest way to understand its role.
Pricing: Subscription Only
As of 2026, InDesign is available only through an Adobe Creative Cloud subscription, either as a single-app plan or as part of the full Creative Cloud suite. There is no one-time purchase and no permanent free version, though a free trial is offered. Pricing changes, so check Adobe directly before committing.
If a recurring subscription does not suit you, a one-time-purchase layout and vector alternative is covered in our Affinity Designer beginner’s guide, and for free vector work there is the Inkscape tutorial. Neither matches InDesign’s long-document tooling, but both avoid ongoing fees.
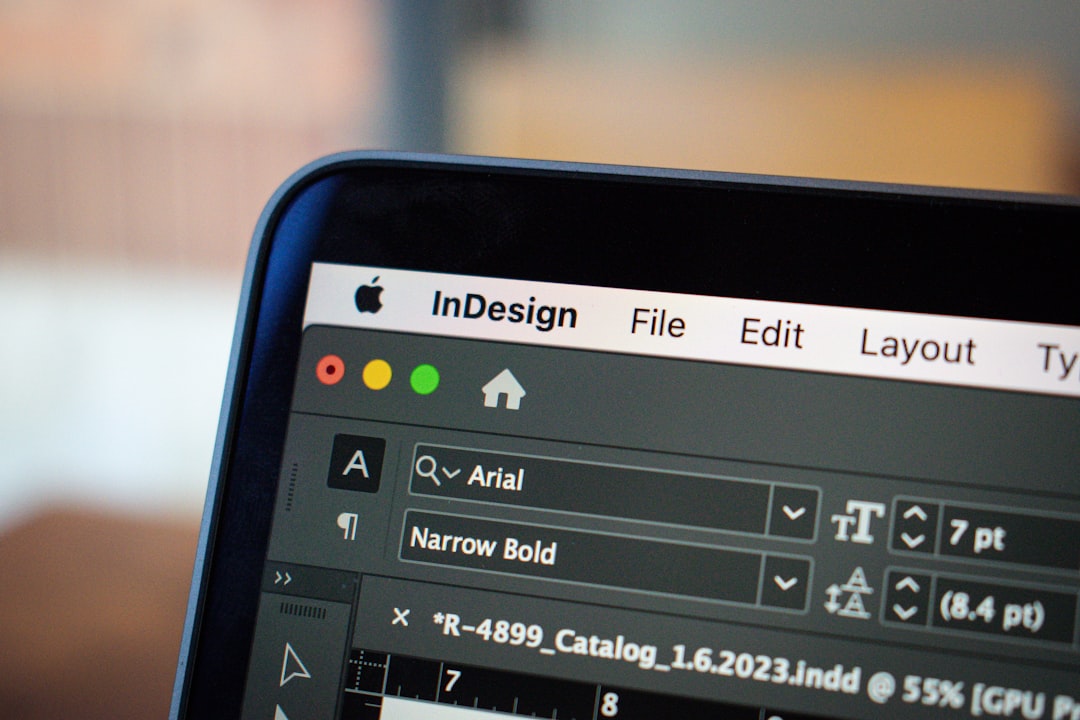
The InDesign Workspace
Open InDesign and you will see a layout built around a few key areas:
- The Tools panel on the left holds the selection tools, the Type tool, frame tools, and drawing tools. The black arrow (Selection) moves whole frames; the white arrow (Direct Selection) edits frame contents.
- The Pages panel on the right shows thumbnails of every page and your parent pages. This is your map of the whole document.
- The Properties and Control panels expose the settings for whatever you have selected, from text formatting to object position.
- The pasteboard is the gray area around each page where you can park items temporarily.
Frames: Containers for Text and Images
Everything in InDesign goes inside a frame. There are two main kinds. A text frame holds type, and a graphics frame holds placed images. You draw a text frame with the Type tool, then type or place content into it. You create a graphics frame and use File > Place to import an image into it.
The power of frames shows up with long text. When a story is too big for one frame, you thread it: click the small out-port on a full frame, then click into the next frame, and the text flows on. Threaded frames let a single article run across many pages and reflow automatically as you edit.
Parent Pages: Design Once, Apply Everywhere
Parent pages (called master pages in older versions) are templates that apply to multiple document pages at once. Anything you place on a parent page, page numbers, running headers, footer rules, margin guides, appears automatically on every page based on that parent.
This is the feature that makes long documents manageable. Put an automatic page-number marker on a parent page once and every page numbers itself correctly, even as you add or remove pages. Create several parents for different page types, a chapter opener, a standard interior, a full-bleed image page, and apply each where needed from the Pages panel.
Paragraph and Character Styles
Styles are the heart of efficient InDesign work, and the feature beginners most often skip to their later regret.
- Paragraph styles store every formatting attribute for a whole paragraph: font, size, leading, spacing, indents, and alignment. Apply one to your body text and every paragraph matches instantly.
- Character styles store formatting for runs of text within a paragraph, such as bold lead-ins or colored links, without disturbing the surrounding paragraph style.
The payoff is global control. Decide your body text should be one point larger across a 60-page document, edit the paragraph style once, and every paragraph updates. Setting type by hand on each page is the slow, error-prone path; styles are the professional one.
Your First Document: A Step-by-Step Start
- Choose File > New > Document. Set the page size, number of pages, margins, and whether pages face each other (use Facing Pages for booklets).
- Open the Pages panel and double-click the parent page (often labeled “A-Parent”) to edit it.
- On the parent, add automatic page numbering with Type > Insert Special Character > Markers > Current Page Number, inside a small text frame in the footer area.
- Return to your document pages and draw a text frame with the Type tool, then type or place your text via File > Place.
- Thread overflowing text into new frames by clicking the red plus out-port, then clicking the next page.
- Create a paragraph style for body text and apply it, then a second for headings.
- Place images into graphics frames with File > Place, and adjust fitting with Object > Fitting.
Preflight and Packaging: Finishing the Job
Two production features set InDesign apart at the finish line. Preflight continuously checks your document for problems, missing fonts, missing or low-resolution images, overset text, and warns you with a status indicator at the bottom of the window. A green light means you are clear; a red one means errors to fix before output.
When the document is ready to send to a printer or collaborator, use File > Package. This gathers the InDesign file, all linked images, and all fonts into a single organized folder, along with a report. Packaging prevents the classic disaster of sending a file with broken image links or missing fonts.
Exporting Your Work
To produce a final file, use File > Export and choose a format. PDF (Print) with the appropriate preset is the standard for commercial printing, while PDF (Interactive) suits on-screen documents with links and buttons. For images destined for the web you can export individual pages as PNG or JPEG. Always preflight before you export so problems are caught early rather than at the printer.
Once you are comfortable with these basics, parent pages, styles, threaded frames, preflight, and packaging, you have the core of professional layout work. From there, explore tables, libraries, and data merge as your projects demand.
Frequently Asked Questions
Is InDesign free or paid?
InDesign is paid only, available through an Adobe Creative Cloud subscription as a single app or in the full suite. A free trial exists, but there is no permanent free version. For a one-time purchase, consider Affinity Publisher; for free layout, options are more limited and less capable.
What is the difference between InDesign and Photoshop?
Photoshop edits photos and raster images pixel by pixel. InDesign assembles text and images into multi-page layouts for print and digital publishing. You typically edit photos in Photoshop, then place them into an InDesign document where the typesetting and page arrangement happen.
What are parent pages used for?
Parent pages act as templates applied to many document pages at once. Elements you add to a parent, such as page numbers, headers, and margin guides, appear automatically on every page using it. They keep long documents consistent and let you update repeating elements in one place.
Should beginners learn InDesign or Figma first?
It depends on your goal. Learn Figma first for websites, apps, and screen-based design. Learn InDesign first for print and multi-page documents like brochures and books. They solve different problems, so choose the one matching the work you actually need to produce.
Why use paragraph styles instead of formatting text manually?
Paragraph styles let you update formatting across an entire document instantly. Change a style once and every paragraph using it updates, instead of editing each one by hand. On long documents this saves hours and eliminates the inconsistencies that manual formatting inevitably creates.