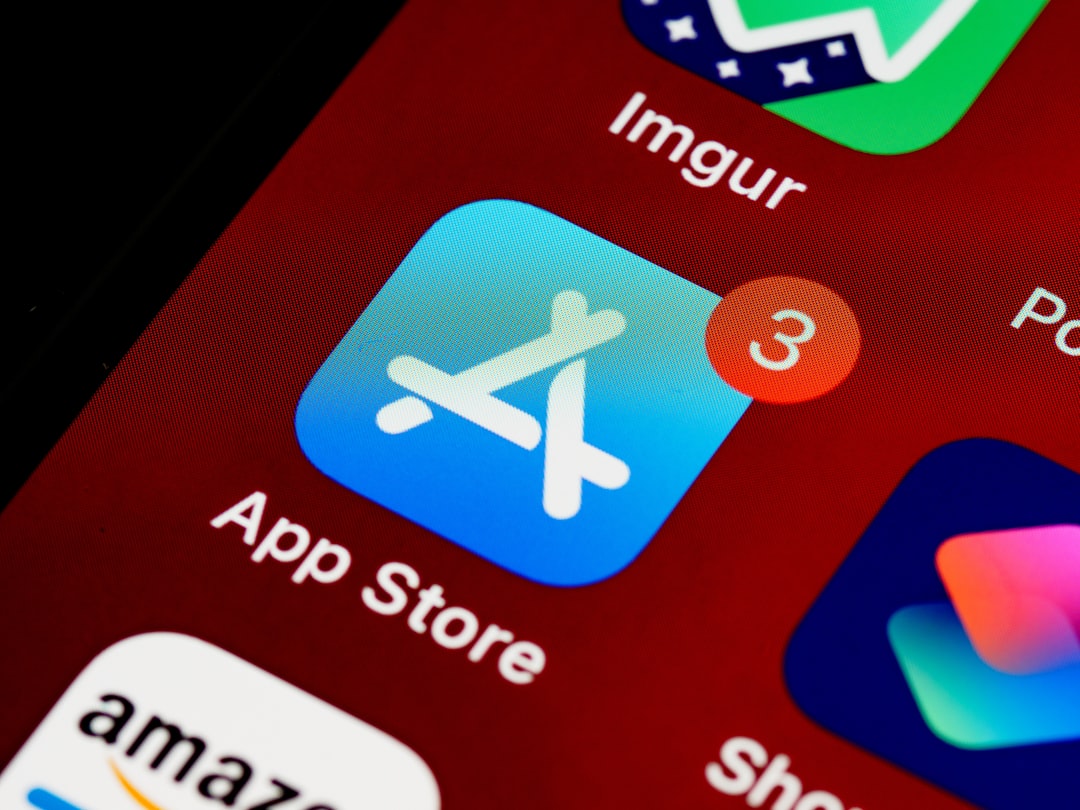
App Store Screenshot Design That Converts Downloads
App store screenshots are the single highest-leverage creative asset most apps ignore. They sit between an interested browser and a download, and the first two or three frames do almost all the persuading. This guide covers what to put in those frames, how to caption and frame them, and the format differences between the App Store and Google Play.
Screenshots are a conversion surface, not decoration — treat them with the same rigor as a landing page. If you are building the broader identity they live inside, start with our founder’s guide to startup branding, and pair this with our SaaS branding guide so your store visuals match the product.
The First 2–3 Shots Do the Work
Most people decide before they swipe. On both stores, the first one to three screenshots are visible without scrolling, so they have to land your core value immediately. Front-load your single strongest benefit in shot one — not a feature tour, not your logo splash, but the reason someone downloads.
- Shot 1: the primary value proposition, stated as a benefit.
- Shot 2: the standout feature that makes you different.
- Shot 3: proof or a second key benefit (social proof, results, ease).
- Shots 4+: supporting features for people who keep swiping.
Caption Every Screenshot
A raw screen capture rarely sells. Add a short caption headline above or beside each frame — three to six words, benefit-led, in your brand typeface. The caption tells people what they are looking at and why it matters; the screenshot proves it. Keep captions parallel in structure so the set reads as one story.
- Lead with verbs and outcomes: “Track spending automatically,” not “Dashboard.”
- Keep type large enough to read as a thumbnail in search results.
- Maintain consistent placement and color across all frames.
Device Frames and Backgrounds
Placing your UI inside a clean device frame on a branded background reads as more polished than a bare screenshot, and it lets you add the caption space. Use current device frames, keep backgrounds on-brand and uncluttered, and make sure the actual UI is still large enough to read. Avoid heavy drop shadows and busy gradients that fight the interface.
There is a real tradeoff between framed and full-bleed screenshots. A device frame looks premium and signals “this is a real app,” but it shrinks the visible UI, which can hurt you when the interface itself is the selling point. Full-bleed screenshots (the UI filling the whole frame) maximize legibility but can look like raw captures if you do not add a strong caption band. Many high-performing listings mix both: a framed hero shot to set the scene, then full-bleed frames to show the product working. Test which the audience responds to rather than assuming the prettier option wins.
One layout decision quietly drives a lot of performance: whether your set reads as a connected panorama or as discrete cards. A continuous background that flows across the first few frames invites swiping and tells a sequential story; self-contained frames are easier to reorder and localize. Pick one approach and keep it consistent so the set feels designed, not assembled.
App Store vs Google Play Specs
The two stores differ in dimensions, counts, and behavior, so you cannot ship one identical set. Always confirm current requirements in the official developer docs before exporting — both platforms revise specs regularly.
| Aspect | Apple App Store | Google Play |
|---|---|---|
| Max screenshots | Up to 10 per device size | Up to 8 (phone) |
| Orientation | Portrait or landscape | Portrait or landscape |
| Required sizes | Per device (e.g. 6.7″/6.9″ iPhone, iPad) | Min 320px, 16:9 or 9:16 ratios |
| Featured frame | First 1–3 in search/product page | First few + optional feature graphic |
| Video | App preview videos supported | Promo video supported |
Verify the exact current pixel dimensions per device in Apple’s and Google’s developer documentation when you export — treat the figures above as a structural guide, not gospel, because they change.
Localize Your Screenshots
If you sell internationally, localized screenshots convert better than English-only ones. At minimum, translate the captions; ideally, localize the in-app content shown too, including currency, names, and date formats. A user scanning the store in their own language trusts a set that speaks it.
A/B Test, Don’t Guess
Both stores offer experimentation tools (Apple’s Product Page Optimization and Google Play’s store listing experiments) that let you test screenshot variants against live traffic. Test one variable at a time — the order of the first shot, a caption rewrite, a background color — and let the data decide. What designers love and what converts are often different.
- Test the first screenshot first; it has the most impact.
- Change one thing per test so results are interpretable.
- Run until you reach a meaningful sample, not just a few days.
Build Workflow and Tools
Design the screenshot templates in Figma — one master frame per device size with the caption and device-frame layers reusable across shots and locales. Export at the exact required dimensions. Photoshop works for richer composited backgrounds, but Figma’s component and variant system makes localization and resizing far faster.
Your app icon sits right beside these screenshots in the listing, so it has to be just as considered — see our guide to app icon design to make the icon and screenshots feel like one cohesive listing.
Common Screenshot Mistakes
Most underperforming listings fail in predictable ways. The fixes are cheap once you can see them.
- Wasting shot one on a splash screen or logo. That frame is your headline; spend it on the core benefit.
- Captions that label instead of sell. “Settings” tells the user nothing; “Customize everything in seconds” gives a reason to download.
- Type too small to read as a thumbnail. Most impressions happen at thumbnail size in search results, not full-screen.
- Inconsistent style across frames — different fonts, colors, and frame treatments that read as several apps.
- Showing empty or placeholder states. Always populate the UI with realistic, attractive sample content.
- Never updating them. Refresh screenshots when the UI changes or seasonally; stale shots erode trust and conversion.
Think of the screenshot set as a mini sales funnel: the first frame earns attention, the next two build desire, and the rest handle objections for the people still swiping. Every frame should advance that argument rather than simply documenting that a feature exists.
Frequently Asked Questions
How many app store screenshots should I use?
Use all the slots the store allows, but invest the most effort in the first two or three — those are visible without scrolling and drive most decisions. The App Store allows up to 10 per device size; Google Play allows up to 8 for phones. Front-load your strongest benefit.
Should I caption my app store screenshots?
Yes. A bare screen capture rarely sells on its own. Add a short, benefit-led caption headline of three to six words in your brand typeface above or beside each frame. Captions explain what the user is seeing and why it matters, and they read clearly even at thumbnail size.
Are App Store and Google Play screenshot specs the same?
No. They differ in dimensions, maximum counts, and required device sizes, so you need separate sets. Apple specifies sizes per device and allows up to 10 shots; Google Play uses ratio-based requirements with up to 8 phone shots. Always confirm current specs in the official developer docs before exporting.
Do localized screenshots actually help?
Yes, especially in non-English markets. At minimum translate the captions; ideally localize the in-app content, currency, and formats shown too. Users scanning the store in their own language trust and convert on a localized set noticeably better than on an English-only one.
How do I know which screenshots convert best?
Test them with the stores’ built-in tools — Apple’s Product Page Optimization and Google Play’s store listing experiments — against live traffic. Change one variable at a time, starting with the first screenshot, and run each test until you have a meaningful sample before drawing conclusions.