Chalk Lettering: Tips for Signs and Boards
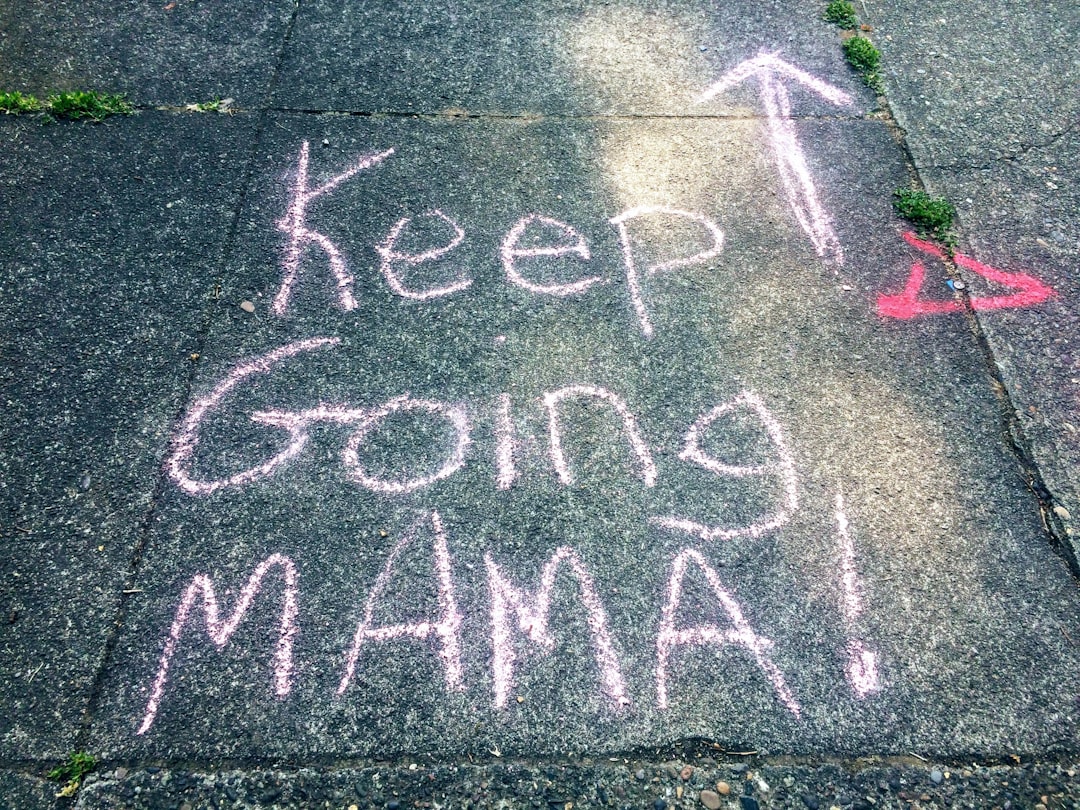
Chalk lettering turns a plain blackboard into a café menu, a wedding welcome sign, or a shop window that stops people on the street. The skill is mostly lettering technique applied to a large, forgiving surface — and because chalkboards erase clean, it is one of the lowest-stakes ways to practice display letters. Get your board prep, markers, and layout right, and the lettering itself becomes the easy part.
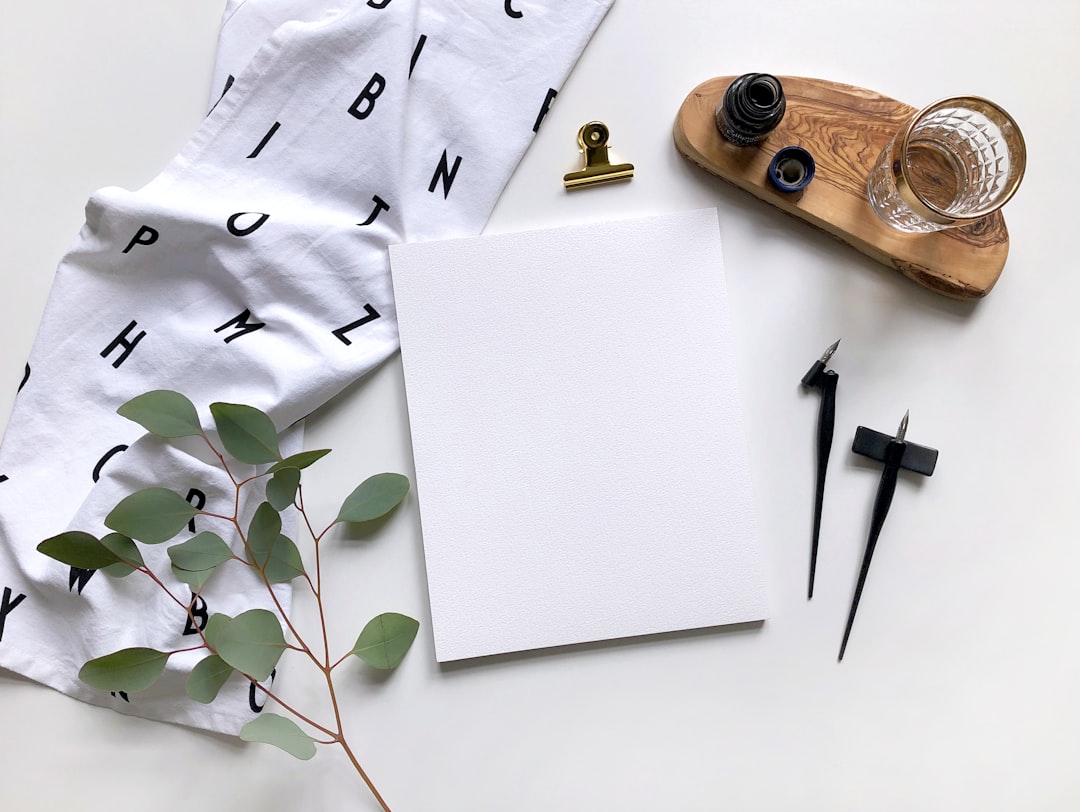
If you are still learning letterforms, build the foundation first with our guide to calligraphy for beginners and the basic strokes. Chalk lettering then becomes a place to apply those shapes at scale.
Chalk vs chalk markers
Your first decision is what to write with. The two options behave very differently.
| Tool | Pros | Cons |
|---|---|---|
| Traditional chalk | Soft, authentic look; easy blending; erases instantly | Smudges easily; dusty; less vivid |
| Liquid chalk markers | Bright, crisp, smudge-resistant; clean edges | Harder to erase; can ghost on porous boards |
For signs that need to look sharp and survive being touched, liquid chalk markers are the practical choice. For a softer, blendable, traditional aesthetic, real chalk wins. Many letterers keep both.
Prep the board first (do not skip this)
A new chalkboard needs seasoning or your first design will ghost permanently into the surface.
- Rub the side of a piece of white chalk over the entire board.
- Wipe it off with a dry cloth.
- The board is now seasoned and ready to erase cleanly.
Before each new design, wipe the board with a barely damp cloth and let it dry fully. A clean, dry surface is essential for crisp marker lines.
Plan your layout before you letter
The biggest difference between amateur and professional chalk signs is layout, not lettering. Plan first:
- Sketch on paper at the board’s proportions. Decide hierarchy — what is the biggest, boldest word, and what is supporting detail.
- Mix lettering styles for contrast: a bold serif headline, a flowing script subhead, and simple caps for details. Variety is what makes chalk signs pop.
- Use guidelines. Lightly chalk a baseline and x-height lines for each section, plus a center line to keep the composition balanced. Wipe them away at the end.
- Leave breathing room. Generous negative space reads as professional; a crammed board reads as chaotic.
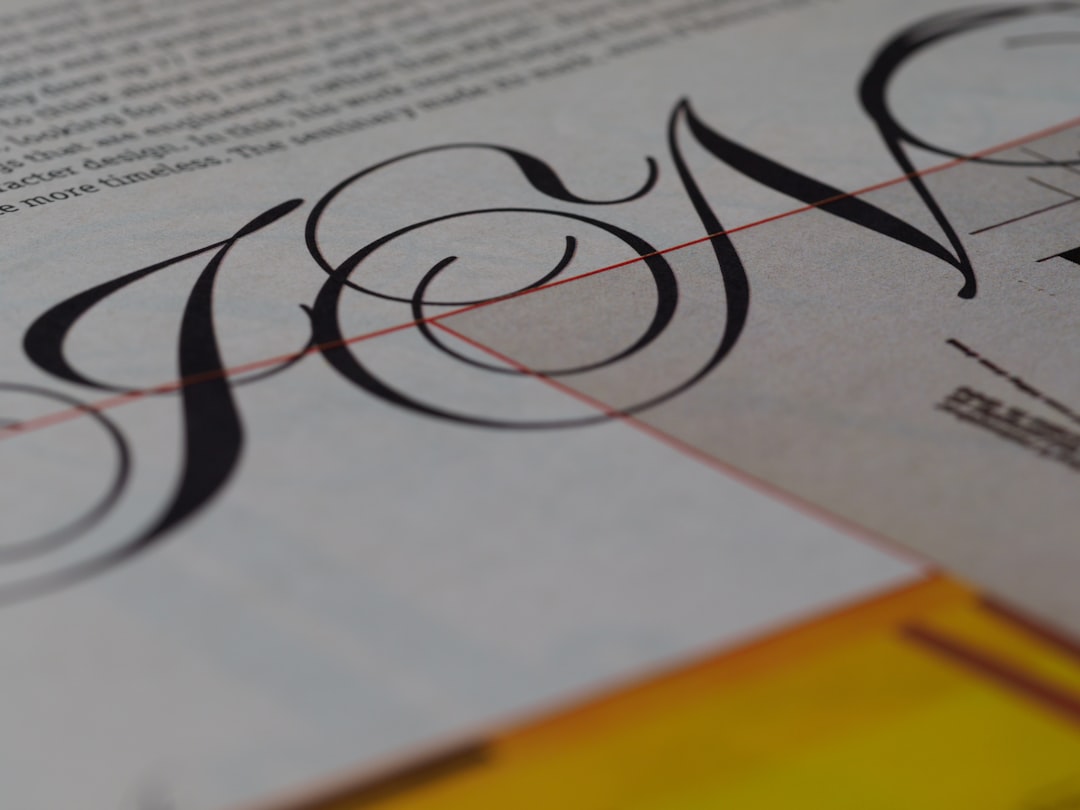
The faux calligraphy method on chalk
The cleanest scripts on a chalkboard are not written with a flexible nib — they are drawn. The outline-and-fill approach of faux calligraphy is purpose-built for chalk lettering:
- Write your word in a loose monoline script with a thin marker.
- Identify every downstroke — wherever the marker traveled downward.
- Add a second line beside each downstroke to create thickness.
- Fill the gap solid, leaving upstrokes as thin hairlines.
This gives you the elegant thick-and-thin look with total control and no temperamental ink. It is the single most useful technique in a chalk letterer’s toolkit.
Add depth and flourish
A few finishing touches elevate a basic board:
- Drop shadows: add a thin line on one consistent side of each letter to lift it off the board.
- Banners and frames: simple drawn ribbons and borders organize sections and look polished.
- Flourishes: extend the tails of script letters into curls — but keep them balanced, not busy.
- Highlights: a tiny white accent on a colored letter gives a hand-painted shine.
Fixing mistakes cleanly
Mistakes are normal and easy to manage. For small marker errors, a damp cotton swab lifts a line without disturbing the rest. For chalk, a slightly damp brush carves clean edges and corrects shapes. Always let corrected areas dry fully before lettering over them, or you will get smearing.
Sealing and protecting your sign
For a sign that must last or travel, a light coat of artist’s fixative or a matte sealing spray locks the design in. Test it on a corner first — some sealers slightly dull bright marker colors. For boards you will redesign often, skip the sealer and keep them erasable.
Where chalk lettering fits
Chalk lettering is hand lettering at heart — drawing letters rather than writing them in single strokes — so it pairs naturally with the distinction we draw in lettering vs calligraphy. The construction-and-fill mindset is exactly what makes chalk boards so beginner-friendly: you can refine every shape before committing.
Frequently Asked Questions
What markers are best for chalk lettering?
Liquid chalk markers give the crispest, most vivid, smudge-resistant results and are ideal for menus and signs. Keep a thin tip for outlining scripts and a broader tip for filling large letters. Traditional chalk is better when you want a soft, blendable, authentic look that erases instantly.
How do I keep chalk lettering from smudging?
Use liquid chalk markers instead of soft chalk, season the board first so designs do not ghost, and let each section dry fully before touching it. For finished signs that must travel or last, a light coat of matte fixative seals the design — just test it on a corner, as some sealers dull colors.
How do you get crisp script on a chalkboard?
Use the faux calligraphy method: write the word in a thin monoline script, then outline and fill each downstroke to add weight while leaving upstrokes thin. Drawing the contrast in by hand gives far cleaner, more controlled results than trying to write flowing script directly with a marker.
Do I need to prep a new chalkboard?
Yes. Season any new board by rubbing the side of a white chalk stick over the whole surface, then wiping it off. This prevents your first design from ghosting permanently into the board. Before each new project, wipe with a barely damp cloth and let it dry completely for crisp lines.