Flyer Design: How to Make Flyers That Work
Good flyer design wins or loses in the first second. A flyer competes for attention on a crowded wall or in a stack of mail, so it needs one bold headline, a clear visual hierarchy, and an obvious next step. This guide walks through sizes, layout, typography, and print specs, then gives you a repeatable process for making flyers that get read and acted on.
A flyer is the punchy, single-message piece in your collateral set. For how it relates to postcards, brochures, and the rest, see our complete stationery design guide.
Standard Flyer Sizes
| Size | Dimensions | Best for |
|---|---|---|
| US Letter | 8.5 × 11 in | Most versatile; events, sales |
| Half-letter | 5.5 × 8.5 in | Handouts, leaflets |
| A4 | 210 × 297 mm | International standard |
| A5 | 148 × 210 mm | Compact handbills, mailers |
| DL | 99 × 210 mm | Rack and counter flyers |
US Letter and A4 are the workhorses because they print on standard equipment with no waste. Drop to A5 or DL for handouts where portability and cost matter more than impact. A useful cost trick: an A5 flyer is simply an A4 sheet cut in half, and a half-letter is a US Letter sheet halved, so you can print two flyers per sheet and slash the unit cost for high-volume runs without changing your design’s proportions.
The Visual Hierarchy That Makes Flyers Work
A flyer should be readable in three layers, at three distances:
- Headline (from across the room): the single biggest element — the offer or event name in large, high-contrast type.
- Supporting info (from a few feet): the what, when, and where — subheads and short body copy.
- Details and call to action (up close): date, price, address, phone, URL, and a QR code.
If someone can grasp the headline and the action in one glance, the flyer is doing its job. Everything else supports those two. A quick way to test the hierarchy is the squint test: blur your eyes or step back from the screen until the detail disappears. If the headline and the call to action are still the two things you can make out, the layering is working. If everything blurs into one gray mass, the contrast and sizing need more separation between the layers.
Layout Principles
- One focal point. A single dominant image or headline anchors the eye.
- Generous contrast. Make the headline pop against the background; avoid low-contrast text over busy photos.
- White space. Don’t fill every inch; breathing room makes the message land.
- Alignment. Keep elements on a grid so the layout feels intentional.
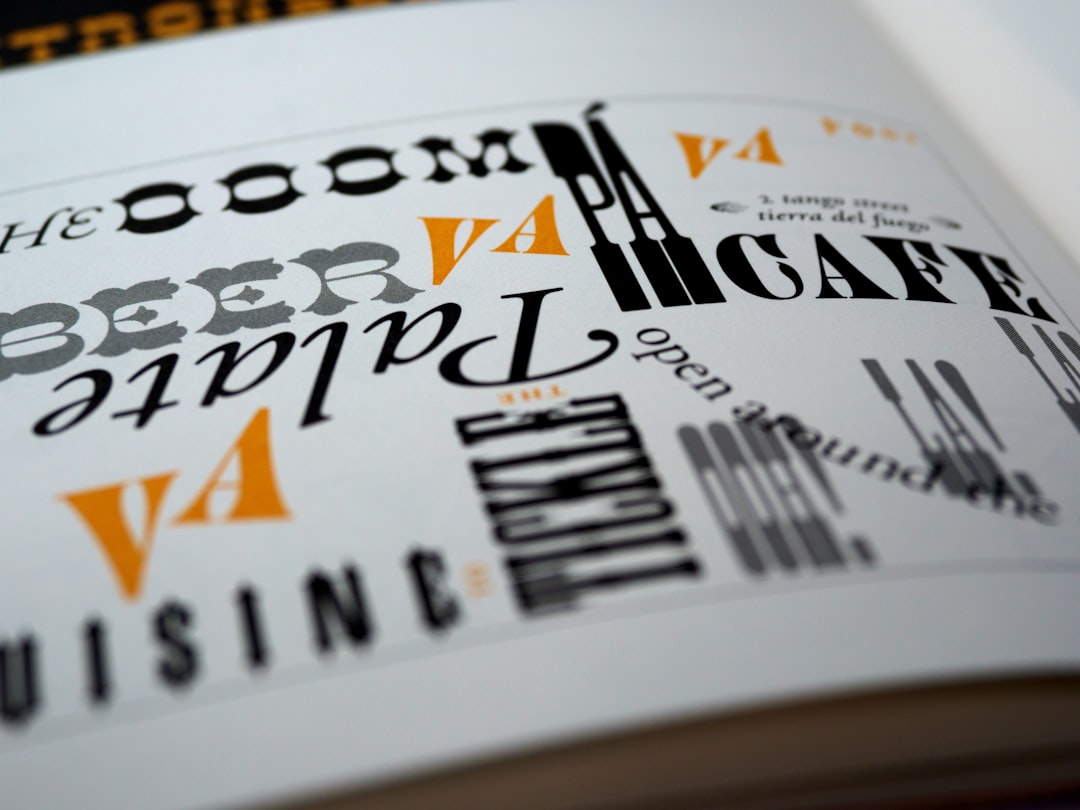
- Limit typefaces. One display face for the headline, one clean body face like Inter (free) for details.
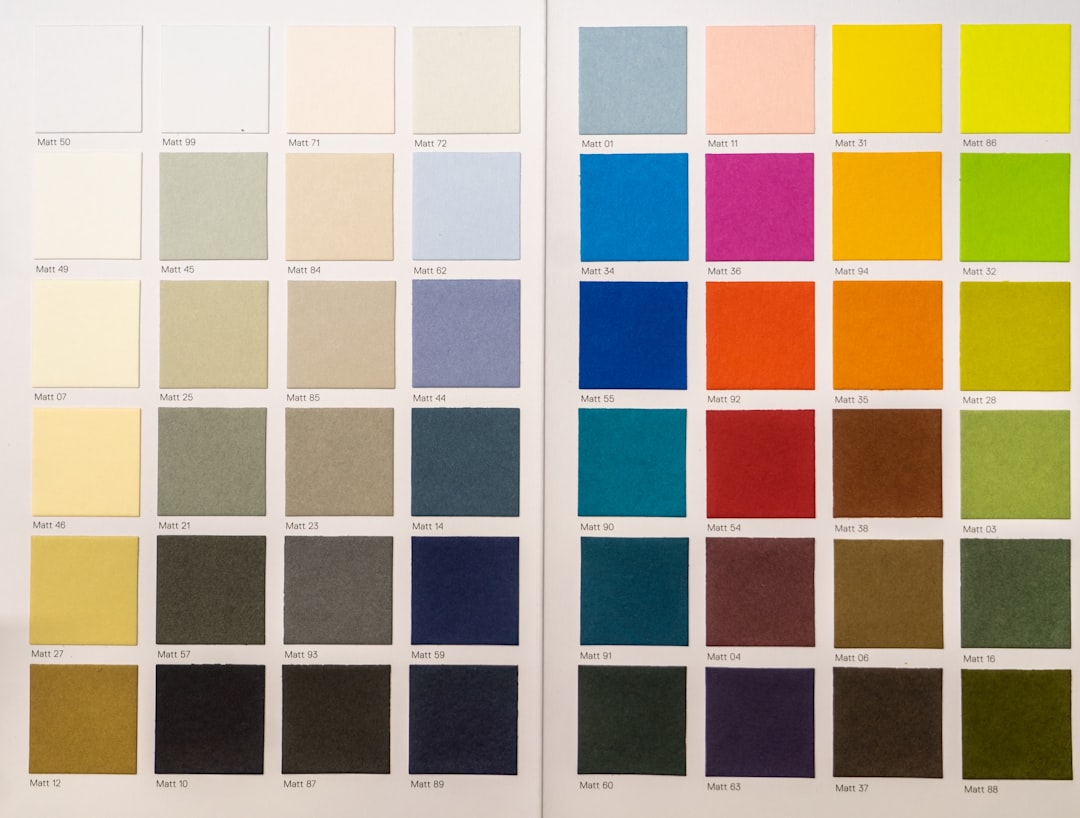
Color and Imagery
Use a tight palette — two or three colors plus neutrals — drawn from your brand so the flyer is recognizably yours. Bold, saturated color attracts attention on a wall, but keep text on solid or simple backgrounds for legibility. Choose one strong, high-resolution image rather than a collage; a single compelling photo or graphic reads faster and looks more professional than five small ones competing for space.
Print Specifications
- Bleed: 0.125 in (3 mm) on all edges where color reaches the trim.
- Safe zone: keep text and logos 0.125–0.25 in inside the trim.
- Resolution: images at 300 DPI at final size.
- Color: design in CMYK; export a press-ready PDF.
- Stock: 130–170 gsm for single-sheet flyers; coated for vivid color, uncoated for a tactile or writable feel.
A Repeatable Flyer Process
- Define one goal. What single action should the reader take?
- Write the headline first. Make it specific and benefit-led.
- Set the size and grid. Pick a standard size and rough out three or four zones.
- Place the focal image. One strong visual to anchor the layout.
- Layer the hierarchy. Headline, supporting info, then details and call to action.
- Proof and export. Check spelling, contact details, bleed, and color; export a press-ready PDF.
Single-Sided vs Double-Sided Flyers
A single-sided flyer is cheaper and works when the message is simple: one event, one offer, one action. It is the right call for flyers stapled to boards or handed out quickly, where no one will flip the page anyway.
A double-sided flyer earns its extra cost when there is genuinely more to say — a schedule, a menu, a set of FAQs, or detailed terms. Use the front purely as the hook (headline, image, core offer) and reserve the back for supporting detail. Do not split the primary message across both sides; assume many readers will only ever see the front, so it must stand alone.
Where the Flyer Will Live
Design changes with placement. A flyer pinned to a crowded community board competes with dozens of others, so it needs maximum contrast and a headline readable from several feet away. A counter or rack flyer is picked up and read at close range, so it can carry more detail and a finer type size. A mailed flyer must survive transit and, if unenveloped, respect a mailing and address zone like a postcard. Decide the venue before you design, because it dictates size, contrast, and how much text the piece can carry.
Common Flyer Mistakes
- No clear focal point. Competing headlines and images leave the eye nowhere to land.
- Low-contrast text on busy photos. Put type on solid panels or add an overlay for legibility.
- Too much copy. A flyer is a teaser, not a brochure; cut anything that is not essential.
- Weak or missing call to action. Tell readers exactly what to do and by when.
- Forgetting bleed and 300 DPI. The print basics that get files rejected or printed soft.
Tools and Templates
Canva is the fastest route for non-designers, with flyer templates at standard sizes and a bleed toggle. For more control, InDesign, Illustrator, or Affinity Publisher give precise typography and print setup. Whatever you use, set bleed and safe zones in the document before designing. Reuse the same look across a matching postcard and brochure to keep a campaign consistent.
Frequently Asked Questions
What size should a flyer be?
US Letter (8.5 × 11 in) and A4 are the most versatile and print without waste, making them ideal for events and sales. Use A5 or DL for compact handouts and rack flyers where portability and cost matter more than visual impact. Match the size to where the flyer will be displayed or distributed.
How do I make a flyer stand out?
Lead with one bold, high-contrast headline readable from across a room, anchor the layout with a single strong image, and keep a tight brand palette. Build a clear three-layer hierarchy so the headline, key info, and call to action each read at the right distance. White space and contrast do the heavy lifting.
What program is best for designing flyers?
Canva is the easiest for beginners, offering flyer templates with bleed at standard sizes. For professional control over typography and print output, use InDesign, Illustrator, or Affinity Publisher. Whatever the tool, set bleed and safe zones in the document setup and export a press-ready CMYK PDF.
What print specs does a flyer need?
Add 0.125 in bleed on edges where color reaches the trim, keep text inside a 0.125–0.25 in safe zone, set images to 300 DPI, and design in CMYK. Print on 130–170 gsm stock, choosing coated for vivid color or uncoated for a tactile, writable finish, then export a press-ready PDF.