Midjourney for Designers: A Practical Guide
Most people use Midjourney by typing a description and rolling the dice until something looks good. Using Midjourney for designers means the opposite: structured prompts, deliberate parameters, and reference images that give you control and consistency instead of luck. This guide is the practical version, how to write prompts that work, which parameters actually matter, and how to fit the output into a real design workflow, so you get usable results rather than pretty accidents.
Midjourney is one of the strongest options in the wider field of AI image generators for designers, and part of the broader AI design tools toolkit. Here we go deep on getting professional results from this one tool specifically.
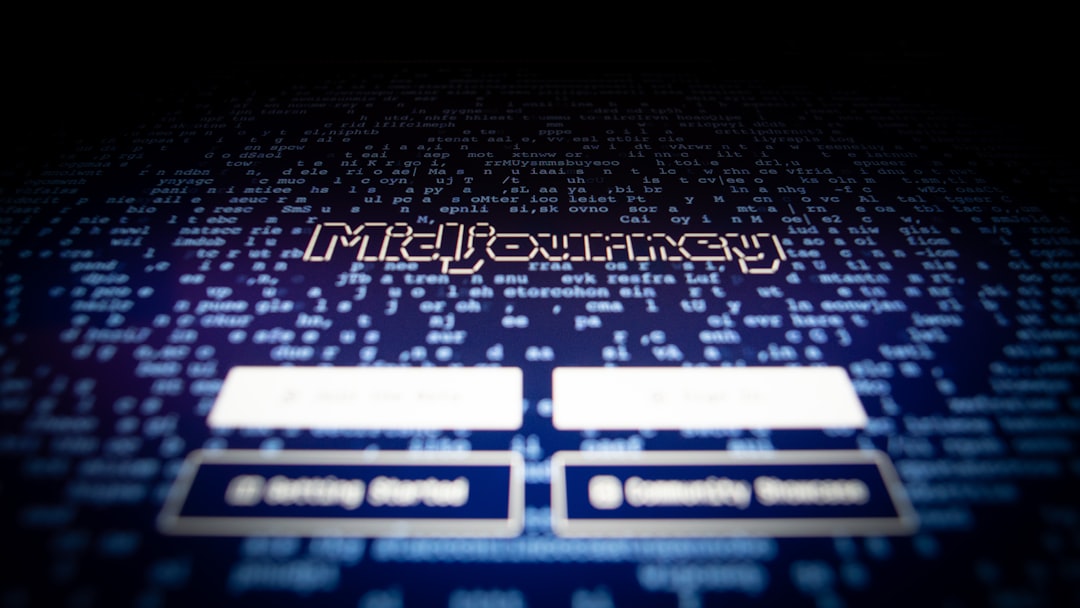
How Midjourney Works in 2026
Midjourney generates four image options from a text prompt, which you then upscale, vary, pan, or zoom. The current version runs through a mature web app (the old Discord-only workflow is no longer the only path), with a gallery, an editor, and tools for in-painting and outpainting. The mental model that matters: you are not commissioning a finished image, you are steering a generator toward a direction and then refining. Treating it as iterative, not one-shot, is the single biggest mindset shift for professional use.
Writing Prompts That Actually Work
A vague prompt gives vague results. A structured one gives control. A reliable prompt skeleton, in rough priority order:
- Subject, what it is, described specifically. “A ceramic pour-over coffee dripper” beats “coffee thing.”
- Setting / context, where it sits and what surrounds it.
- Style / medium, “studio product photography,” “flat vector illustration,” “isometric 3D render,” “editorial photo.”
- Lighting and mood, “soft diffused window light,” “high-contrast dramatic lighting.”
- Composition / framing, “centered, top-down,” “wide shot with negative space on the left.”
- Technical / quality cues, lens or camera language for photography (“85mm,” “shallow depth of field”).
Front-load what matters most; Midjourney weights earlier words more heavily. Be concrete over flowery, specific nouns and clear style terms outperform a pile of adjectives. And iterate one variable at a time so you learn what each change does.
The Parameters That Matter Most
Parameters go at the end of the prompt as flags. The few worth knowing well:
- –ar (aspect ratio), set this deliberately for your use,
--ar 16:9for a banner,--ar 2:3for a poster,--ar 1:1for social. Designing at the right ratio from the start saves cropping later. - –stylize (or –s), how strongly Midjourney applies its own aesthetic. Low values stay literal to your prompt; high values produce more artistic, less controllable results. Lower it when you need accuracy.
- –chaos (–c), how varied the four initial options are. Raise it to explore wildly different directions, lower it to keep options tight and similar.
- –no, negative prompting,
--no text, watermarkto push unwanted elements out. - –tile, generates seamless repeating patterns, genuinely useful for textures and backgrounds.
You do not need the full parameter list. Master aspect ratio, stylize, and chaos and you have most of the practical control.
Using Reference Images for Control and Consistency
This is where Midjourney becomes a real design tool rather than a slot machine. You can feed it images to steer the result:
- Image prompts, paste an image URL to influence the composition or subject of the output.
- Style reference, supply a reference so new generations adopt a target visual style, the key to keeping a series of images consistent.
- Character / subject reference, keep the same character or subject recognizable across multiple images, which solves one of AI’s hardest problems for campaign work.
For any project needing more than one image that all belong together, a campaign, a set of illustrations, a consistent brand look, reference features are what make it possible. Without them you get four unrelated nice pictures; with them you get a coherent set.
Editing: In-Painting and Outpainting
You rarely get a perfect image first try, and you do not have to regenerate the whole thing. Use the editor to fix and extend:
- In-painting (Vary Region), select part of an image and regenerate just that area, fix a bad hand, swap an object, change a color, without touching the rest.
- Outpainting / Zoom Out, extend the image beyond its original frame to add background or change the crop, useful when you need more room around a subject.
- Pan, extend in a specific direction to build a wider scene.
Treating these as core tools, not afterthoughts, is what separates polished Midjourney work from raw generations.
Fitting Midjourney Into a Real Workflow
Midjourney rarely produces a final deliverable on its own. The realistic pipeline:
- Generate concepts in Midjourney to explore directions fast.
- Refine the best option with variations, reference images, and in-painting.
- Upscale to the highest resolution Midjourney offers.
- Finish in Photoshop, fix details, composite, color-correct, add any text (never rely on Midjourney for accurate text), and clean up artifacts.
- Check rights, confirm your subscription tier’s commercial-use terms before shipping client work.
That last step matters: commercial usage rights depend on your plan, and some content (real people, trademarks, logos) is not safe to generate regardless. Know the terms before you deliver.
Practical Use Cases Where Midjourney Earns Its Place
It helps to know where Midjourney actually pays off in design work, versus where it is a distraction. The strong fits:
- Moodboards and concept exploration. Generating a spread of visual directions fast, early in a project, is where it shines brightest. It replaces hours of stock-image hunting with minutes of targeted generation.
- Hero and background imagery. Editorial-style visuals, abstract backgrounds, and textures, especially when stock libraries do not have the specific thing you need.
- Illustration in a consistent style. With style references, a set of spot illustrations that belong together, for a deck, a site, or an article series.
- Pattern and texture generation. The
--tileparameter produces seamless repeats that are genuinely useful for packaging, backgrounds, and surface design.
The weak fits are equally worth naming: precise logos, anything requiring accurate text, exact brand color matching, and images of specific real people or products. Reach for Midjourney where look-and-feel leads and exactness does not, and handle the precise work elsewhere.
Saving What Works: Build a Prompt Library
The biggest efficiency gain over time is not a clever single prompt, it is a personal library of prompt structures that reliably produce a look you want. When a generation lands well, save the full prompt, including parameters, and note what each part contributed. Over a few projects you accumulate reusable scaffolds, your go-to product-photography prompt, your flat-illustration prompt, your texture prompt, that you adapt rather than rebuild. This is how professionals get consistent results fast: not by re-rolling endlessly, but by reusing structures they have already proven work.
Common Mistakes to Avoid
- Over-stuffing prompts with dozens of adjectives, it muddies the result. Be specific, not verbose.
- Expecting accurate text, add type yourself in a design tool.
- Ignoring aspect ratio and cropping a square into a banner later, losing composition.
- Treating it as one-shot, the value is in iteration and editing, not the first roll.
- Skipping the licensing check before client delivery.
Used with structure, Midjourney is a genuine accelerator for concept work and imagery, fast, controllable, and beautiful. Used as a slot machine, it wastes credits and produces inconsistent output. The difference is entirely in the discipline you bring to the prompt and the refinement after it.
Frequently Asked Questions
How do designers write good Midjourney prompts?
Structure the prompt: state the subject specifically, then setting, style or medium, lighting, composition, and technical cues, front-loading what matters most since Midjourney weights earlier words. Use concrete nouns over piles of adjectives, and iterate one variable at a time so you learn what each change does to the result.
What are the most important Midjourney parameters?
The three that matter most are –ar (aspect ratio), to design at the right proportions from the start; –stylize, controlling how strongly Midjourney applies its own aesthetic versus following your prompt; and –chaos, controlling how varied the initial options are. Master these before worrying about the full parameter list.
Can Midjourney keep a consistent style across images?
Yes. Use style reference and character or subject reference features to keep a consistent visual style or recognizable subject across multiple generations. This solves one of AI’s hardest problems and is essential for campaigns or illustration sets where every image must clearly belong to the same series.
Is Midjourney output ready to use as-is?
Rarely. Midjourney is best for generating and refining concepts, not producing final deliverables. The realistic workflow generates concepts, refines with variations and in-painting, upscales, then finishes in Photoshop, fixing details, adding accurate text, and color-correcting. Always confirm your plan’s commercial-use rights before delivering client work.