Zine Design: How to Make a Zine From Scratch
Zine design is the most democratic corner of publishing: a folded sheet of paper, a photocopier, and an idea worth sharing. Where book and magazine work obsess over polish, zines trade budget for voice — they are fast, personal, and gloriously imperfect. This guide walks you through making one from blank page to finished copy.
For the wider craft of layout, grids, and typography that even a scrappy zine benefits from, start with our editorial design guide, the pillar for this whole publication cluster.
What Is a Zine?
A zine (short for “magazine” or “fanzine”) is a small-circulation, self-published booklet, usually made cheaply and distributed by hand, mail, or at fairs. There are no rules about content — zines cover art, music, politics, comics, personal essays, recipes, anything. The defining traits are independence and immediacy: you make it, you print it, you share it, no gatekeepers.
That freedom is the point. A zine does not need to look like a magazine. Hand-lettering, collage, photocopied texture, and visible imperfection are part of the aesthetic, not flaws to hide.
Choose Your Format
The format determines everything downstream — how you lay out pages and how you print. The most common DIY formats are:
- The 8-page mini zine — a single sheet folded and cut into eight tiny pages. No stapling, no binding, one piece of paper. The perfect first zine.
- The quarter-fold — a sheet folded twice into a small four-page booklet; quick and tidy.
- The half-fold (saddle-stitch) — sheets folded in half and stapled at the spine, giving you 8, 16, or 24 pages in multiples of four.
For your first zine, the 8-page mini is unbeatable: it requires only a printer, scissors, and one fold-and-cut trick, and it teaches you how page imposition works.
How the 8-Page Mini Zine Fold Works
The 8-page mini relies on a clever fold. Here is the sequence:
- Fold a sheet (A4 or US Letter) in half the long way, then unfold.
- Fold it in half the short way, then in half again — you now have eight rectangles when unfolded.
- Fold the sheet in half the short way and cut a slit along the center crease, through the middle two panels only.
- Open the sheet, fold it long-ways again, and push the ends toward the center so the slit opens into a plus shape.
- Collapse it into a booklet and crease — eight pages, no staples.
The catch is imposition: because of the folding, the pages do not sit in reading order on the flat sheet, and some are rotated 180 degrees. Use a free mini-zine template (search “8-page zine template”) so each panel is correctly placed and oriented, then drop your content into the right cells.
Laying Out the Pages
Even a loose zine reads better with a little structure. A light grid keeps text and images from feeling random — see our primer on grid systems in graphic design for the basics, then break the rules deliberately rather than by accident.
Practical layout tips for small pages:
- Keep margins generous — folds and cheap cutting eat the edges; do not put anything important near the trim.
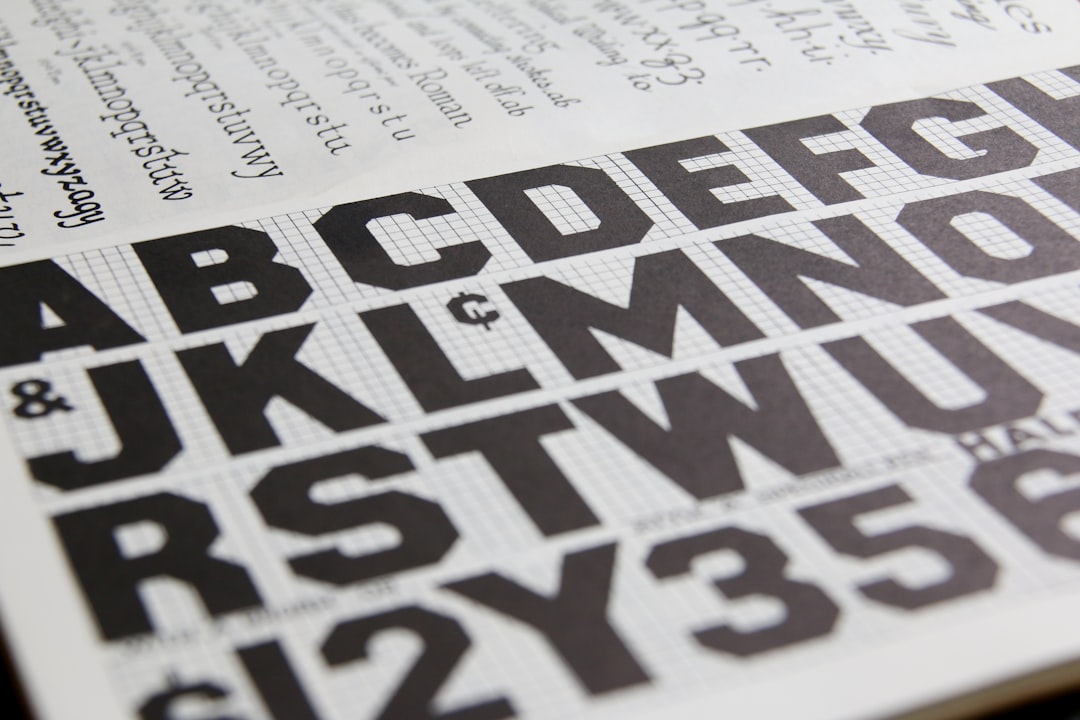
- Limit type to one or two fonts — a characterful display face plus a plain readable one is plenty. Hand-lettering counts as a font.
- Embrace high contrast — photocopiers and risographs love bold black-and-white; subtle gradients turn to mush.
- Design the cover to grab — at a zine fair, the cover is all anyone sees first. The same instincts from book cover design apply at miniature scale.
Printing on a Budget
Zines are defined partly by how they are reproduced. Your options, cheapest first:
| Method | Cost | Look |
|---|---|---|
| Home / library photocopier | Lowest | Classic grainy B&W; very DIY |
| Risograph | Low-medium per run | Bold spot colors, textured, retro |
| Local print shop (digital) | Medium | Clean color, quick turnaround |
The risograph deserves special mention: it prints in vivid spot colors layer by layer, with a slightly imperfect registration that has become the signature look of contemporary art zines. Many cities have community riso studios. For pure black-and-white text zines, a photocopier is still the authentic, near-free choice.
Tools You Can Use
You can lay out a zine in almost anything. Adobe InDesign or Affinity Publisher handle imposition and multi-page booklets cleanly. Figma works well for collage-style digital layouts. And plenty of great zines are made entirely by hand — paper, scissors, glue, and a copier — then scanned. The tool matters far less than having something to say.
Finishing and Sharing
- Print a test copy and fold it before running the full batch — imposition errors only reveal themselves folded.
- Trim and fold consistently — a bone folder gives crisp creases.
- Staple saddle-stitched zines at the spine with a long-reach or standard stapler.
- Distribute — zine fairs, local shops, trades with other makers, or mail order. Trading zines is half the culture.
Frequently Asked Questions
How do I make a zine from scratch?
Pick a format (an 8-page mini zine is easiest), plan your content, lay it out using a free imposition template so pages fold into the right order, then print and fold. The mini zine needs only one sheet, a printer, and scissors — no stapling or binding required.
What is an 8-page mini zine?
An 8-page mini zine is made from a single sheet folded and cut so it collapses into eight tiny pages with no staples. A central slit, made by cutting along the middle crease, lets the folded sheet open into a booklet. Use a template, since the pages sit out of order on the flat sheet.
What software is best for zine design?
Adobe InDesign and Affinity Publisher handle booklet imposition and multi-page layout cleanly, while Figma suits collage-style digital pages. Many zines are also made entirely by hand with paper, scissors, and glue, then scanned. The tool matters less than the idea and voice you bring.
How should I print a zine cheaply?
A photocopier at home or a library is the cheapest and most authentic option for black-and-white zines. A risograph gives bold spot colors and a textured retro look at low per-run cost, popular for art zines. Local digital print shops offer clean color with quick turnaround at moderate cost.
What is a risograph and why use it for zines?
A risograph is a stencil-based duplicator that prints vivid spot colors layer by layer, with a slightly imperfect registration. That textured, retro look has become the signature aesthetic of contemporary art zines. Many cities have community riso studios where you can print short runs affordably.