Faux Calligraphy: How to Fake the Look
Faux calligraphy recreates the elegant thick-down, thin-up look of pointed-pen lettering using nothing but an ordinary pen, marker, or pencil. The trick is simple: you write your word normally, then go back and outline and fill the downstrokes so they appear thicker. No nibs, no ink, no special holder — just letters and patience.
It is the smartest way to start. Before you commit to a nib kit covered in our guide to calligraphy for beginners and the essential tools, faux calligraphy teaches you letterforms, spacing, and where the thick strokes belong — risk-free.
Why faux calligraphy is worth learning
- Zero startup cost. Any pen you already own works.
- Works on anything. Chalkboards, gift tags, mugs, envelopes, glass, wood — surfaces where a dip pen would fail.
- Builds real skill. You learn the single most important concept in calligraphy: thick downstrokes, thin upstrokes.
- Total control. Because you draw the weight in deliberately, beginners often get cleaner first results than with a temperamental nib.
The core concept: downstrokes get the weight
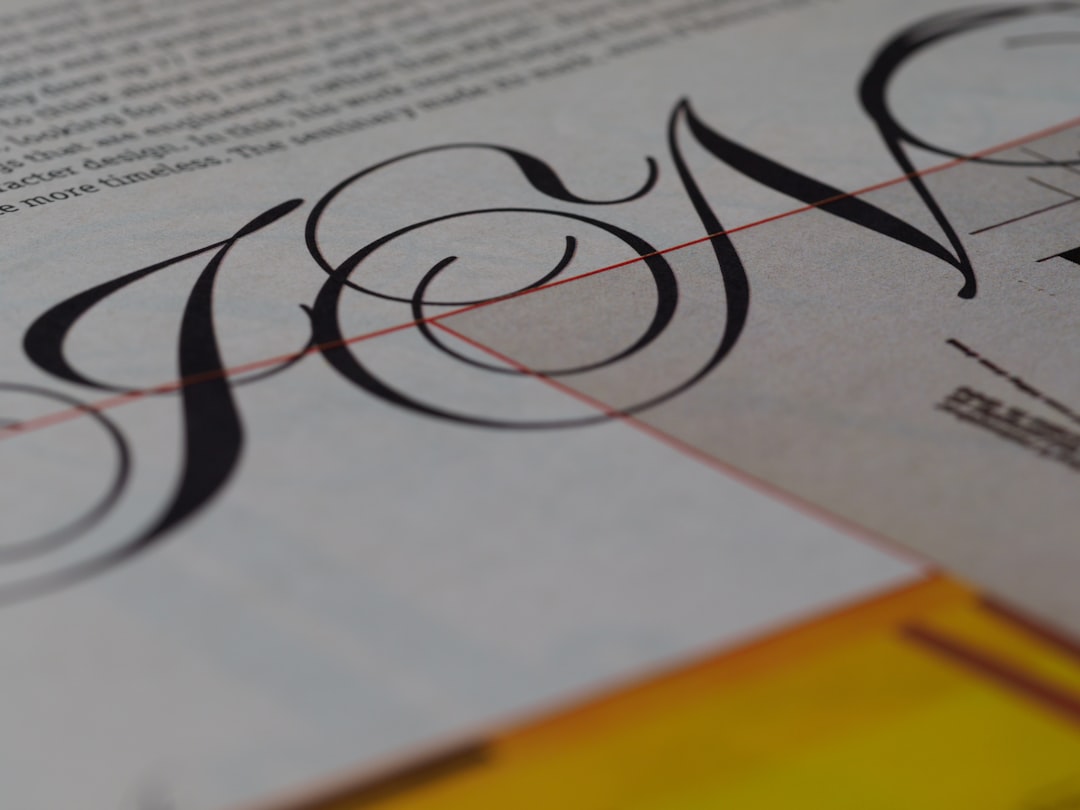
Real calligraphy gets its contrast from a flexible nib spreading under pressure on the way down and snapping thin on the way up. Faux calligraphy fakes that contrast by hand. The rule you must internalize: every stroke where your pen travels downward gets thickened; every upward stroke stays thin. Identifying downstrokes correctly is the whole game.
The outline-and-fill method, step by step
- Write the word in a loose, monoline cursive. Keep your letters connected and leave generous spacing — faux calligraphy needs room.
- Identify the downstrokes. Trace the word slowly and mark every place the pen moved downward.
- Draw a second line alongside each downstroke. A small gap parallel to the original creates an outline.
- Fill the gap solid. Color in the space between the two lines so the downstroke reads as one thick stroke.
- Leave upstrokes thin. The hairlines stay as your original single line — the contrast between thin up and thick down is what sells the effect.
For a smoother look, add the second line on the inside of curves consistently. Picking one side and sticking to it keeps your letters cohesive.
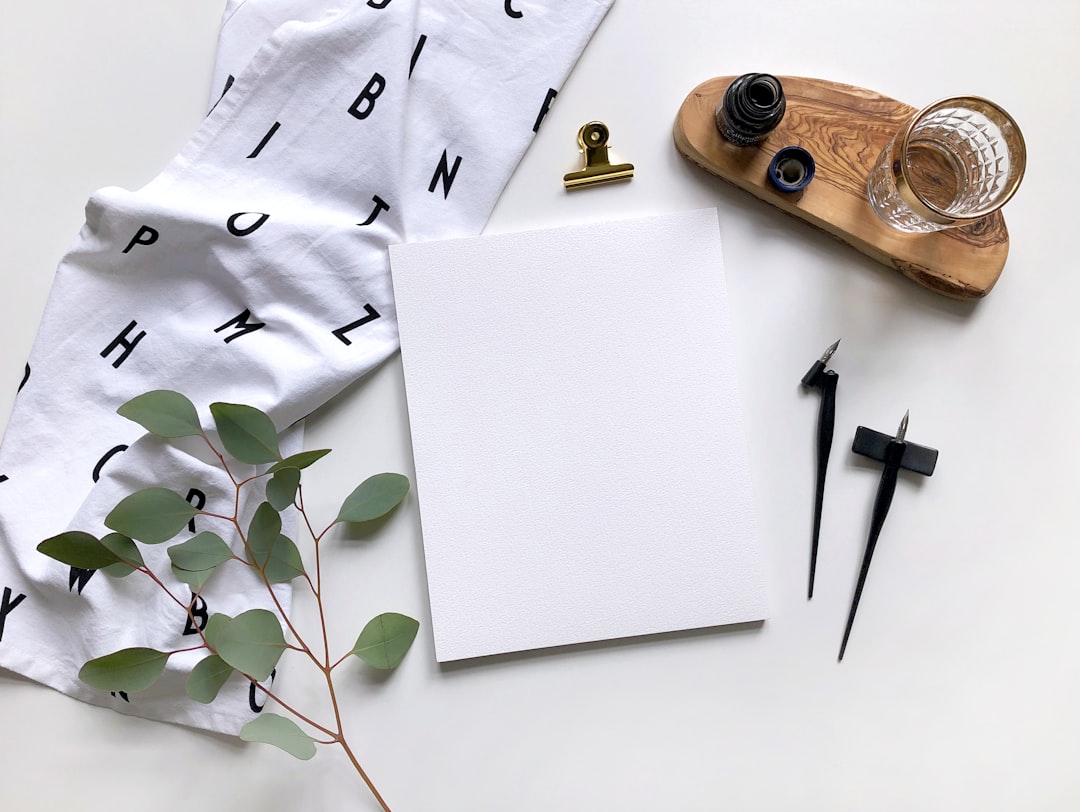
Tools that work best
| Tool | Best for |
|---|---|
| Fineliner / gel pen | Crisp outlines on paper; easiest to fill cleanly. |
| Pencil | Practice and erasable layouts. |
| Chalk marker | Boards, glass, and signage (see chalk lettering below). |
| Paint pen | Mugs, wood, and non-porous surfaces. |
| Brush marker | Filling large faux strokes quickly with one swipe. |
Tips for clean, professional results
- Use guidelines. A baseline and an x-height line keep your letters even. Sketch them in pencil and erase later.
- Keep downstroke weight consistent. The thickened part of every letter should be roughly the same width across the word.
- Don’t crowd letters. Faux strokes add bulk; tight spacing turns into a blob.
- Outline first, fill last. Get all your outlines right before committing to ink fills.
- Add bounce for a modern feel. Once comfortable, drop terminal letters below the baseline — the same move that defines modern calligraphy in our beginner’s guide.
Common mistakes to avoid
- Thickening the wrong strokes. If you weight upstrokes, the letters look bottom-heavy and wrong. Down only.
- Inconsistent thickness. Wandering weights make the word look unsteady. Decide on a width and hold it.
- Writing too small. Tiny letters leave no room to add weight. Go bigger than feels natural at first.
- Filling before outlining. You lose the chance to correct shapes. Outline the whole word first.
Where to go from here
Faux calligraphy is both a destination and a launchpad. As a destination, it shines on physical projects — and the technique scales straight up to large surfaces, which is exactly the foundation for chalk lettering on signs and boards. As a launchpad, it primes you for the real thing: once the thick-and-thin instinct is automatic, picking up a flexible nib feels far less intimidating.
Frequently Asked Questions
Is faux calligraphy real calligraphy?
Not strictly. True calligraphy creates thick-and-thin contrast through pressure on a flexible nib in one motion, while faux calligraphy draws that contrast in afterward by outlining and filling downstrokes. The look is similar, but faux calligraphy is closer to hand lettering — drawing letters — than to traditional pen-based calligraphy.
What pen is best for faux calligraphy?
Any pen works, which is the point. For crisp results on paper, a fineliner or gel pen makes clean outlines and fills easily. For boards and glass, use chalk markers or paint pens. Pick a tool with a consistent tip so your thickened downstrokes stay uniform across the whole word.
How do I know which strokes to thicken?
Thicken every downstroke — any part of a letter where your pen travels downward — and leave every upstroke thin. Trace your word slowly and mark the downward movements before adding weight. This thick-down, thin-up rule is the core of both faux and traditional calligraphy, so learning it here transfers directly.
Can faux calligraphy help me learn real calligraphy?
Absolutely. Faux calligraphy teaches letterforms, spacing, and the all-important concept that downstrokes carry the weight — all without the cost or frustration of nibs and ink. Many people start here, then move to a Nikko G nib once the thick-and-thin instinct feels automatic, finding the transition much smoother.