Spot UV Coating: When and How to Use It
Spot UV is a clear, glossy varnish applied to selected areas of a printed piece and cured instantly under ultraviolet light. Its impact comes entirely from contrast — gloss against matte — so it shines brightest over a matte laminate, catching the light without changing any colors. This guide covers how spot UV works, when it earns its place, and how to build the mask layer that controls exactly where the gloss lands.
Spot UV is one of the most cost-effective premium finishes in our complete guide to print finishing. Start there for the full landscape; this page goes deep on the gloss-on-matte technique.
How spot UV works
After a piece is printed and (usually) laminated, a clear UV-curable varnish is applied only to the areas you specify, then cured under UV lamps in seconds. The cured varnish is glossy, hard, and slightly raised. Unlike a flood varnish that coats the whole sheet, spot UV is selective — that selectivity is what creates the effect.
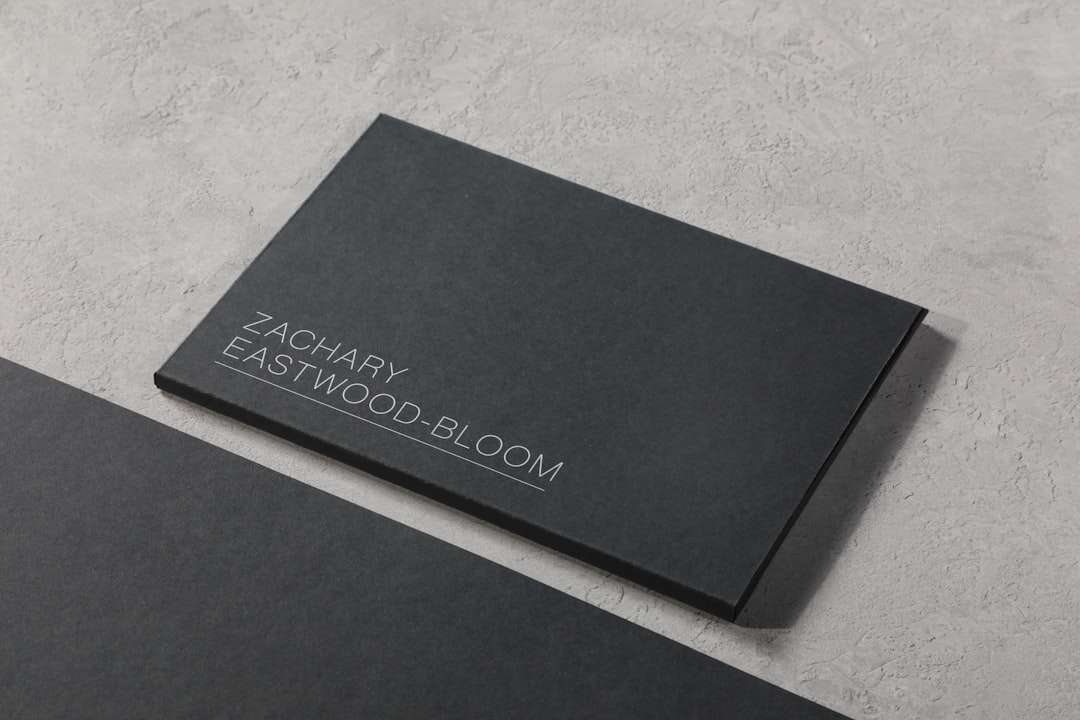
The most effective combination is spot UV over matte lamination. The matte laminate gives a soft, velvety, low-sheen background; the spot UV glosses chosen elements so they catch light and appear to float above the surface. Because the varnish is clear, it adds no color — only sheen and a subtle tactile rise. That makes it ideal for adding sophistication without disturbing your palette.
Spot UV vs other gloss finishes
| Finish | Coverage | Effect | Needs a mask? |
|---|---|---|---|
| Spot UV | Selected areas only | Gloss contrast on chosen elements | Yes — a spot-UV mask layer |
| Flood UV / gloss varnish | Whole sheet | Overall shine | No |
| Gloss lamination | Whole sheet | Uniform glossy film | No |
| Foil stamping | Selected areas only | Metallic, reflective | No (uses a metal die) |
If you want metallic shine rather than clear gloss, compare spot UV against foil stamping, which uses a heated die instead of a varnish mask.
When to use spot UV
Spot UV is a strong choice when you want premium contrast at a reasonable cost — it needs only a plate or screen and a mask, not an expensive engraved die. Good uses include:
- Business cards — gloss the logo or name over a matte laminate for an instant upgrade.
- Packaging and folders — highlight product imagery, patterns, or brand marks.
- Book and report covers — gloss the title or a key graphic against a matte field.
- Subtle texture — apply spot UV in a tone-on-tone pattern for a watermark-like sheen visible only at an angle.
It is less suited to very fine type at small sizes, where the gloss can fill in, and to designs that need metallic color, where foil wins.
How to set up the spot UV mask
This is where spot UV succeeds or fails. You must supply a separate spot-UV mask that tells the press exactly where the varnish goes. The mask is a flat shape — anything filled means “apply gloss here.”
- Add a dedicated layer or spot color for the mask, named clearly (e.g. “SpotUV”). Keep it separate from CMYK artwork.
- Draw the gloss areas as a solid color, conventionally 100% K (black) on that layer — the printer interprets the filled area as the varnish zone. No gradients or screens; the varnish is on or off.
- Keep the mask in perfect registration with the artwork beneath it. The gloss should sit precisely on the element you are highlighting.
- Set the mask layer to overprint so it does not knock out the artwork underneath.
- Mind minimum sizes. Avoid spot UV on type below roughly 8–10pt and on hairlines, which the varnish can bridge.
- Supply a mockup indicating which elements are glossed, and confirm whether the base is matte-laminated (it almost always should be).
Spot UV and stock
Spot UV needs a smooth, sealed surface to gloss against, which is why it is paired with lamination or applied to coated stock. The matte-laminate-plus-spot-UV combo is the gold standard. Uncoated stock absorbs the varnish and kills the contrast, so it is rarely a good fit. Cover weights around 350–400gsm carry the laminate-and-UV treatment well on cards. For the full coated-versus-uncoated picture, see our guide to paper types for printing.
Raised (textured) spot UV
Standard spot UV is smooth and flat to the touch; raised spot UV (sometimes called textured or 3D UV) lays the varnish down thicker so the glossed areas have a noticeable physical rise you can feel with a fingertip. It is built from the same mask layer, but the printer applies multiple or heavier passes of varnish. Raised UV is excellent for simulating texture — think the bristles of a brush, water droplets, or the grain of a material — and for making a logo feel as well as look distinct. It costs a little more than flat spot UV but is still far cheaper than tooling-based finishes like foil or emboss.
The setup is identical: a solid 100% mask in register. The only extra consideration is that raised UV needs slightly more generous spacing and minimum sizes, because the thicker varnish spreads a touch more than a flat coat. Flag to your printer that you want it raised so they apply the correct number of passes.
Cost and production notes
Spot UV’s appeal is value. Because it skips custom dies, the setup cost is modest — a plate or screen plus your mask — so it scales well even on moderate runs and is one of the few premium finishes that stays affordable at smaller quantities. It does add a production pass after lamination, so allow extra lead time, and request a proof for anything color- or registration-critical. When you need a high-end feel without the tooling budget of foil or embossing, spot UV over a matte laminate is consistently the best return on investment.
Common spot UV mistakes
- No matte base. Spot UV over a glossy surface has little contrast; pair it with matte lamination to make it pop.
- Mask not in register. If the gloss is off by a fraction, it looks like a printing error. Keep the mask locked to the artwork.
- Gloss on tiny type. Small text and hairlines fill in; reserve spot UV for logos, headlines, and shapes.
- Tonal mask values. Use 100% solid, not screened percentages — the varnish does not reproduce gray tones.
Frequently Asked Questions
What is spot UV coating?
Spot UV is a clear glossy varnish applied only to selected areas of a printed piece and cured under ultraviolet light. Because it is selective, it creates contrast — gloss against the surrounding finish — and adds sheen and a slight raised feel without changing any colors in the artwork.
How do I create a spot UV mask in my artwork?
Add a dedicated layer or spot color named for the spot UV, draw the gloss areas as a solid 100% black (K) shape with no gradients, set it to overprint, and keep it in perfect registration with the artwork beneath. The filled areas tell the press exactly where to apply varnish.
Does spot UV need a matte laminate underneath?
For the strongest effect, yes. Spot UV gets its impact from contrast, so a matte laminate gives a soft background that makes the glossed areas stand out dramatically. Spot UV over a glossy surface still adds texture but has far less visible contrast.
Is spot UV cheaper than foil stamping?
Usually, yes. Spot UV needs only a plate or screen plus a mask layer, whereas foil stamping requires a custom engraved metal die for every design. That makes spot UV a more economical way to add a premium, eye-catching contrast, though it gives gloss rather than metallic shine.
Can spot UV be used on small text?
It is best avoided on very small type and hairlines. The varnish can bridge tight gaps and fill in fine detail, making text look blotchy. Reserve spot UV for logos, headlines, larger graphics, and shapes, and keep type above roughly 8–10pt for clean results.