Box Packaging Design: Structure, Print and Finishing
A box is the most demanding format in packaging because it has to be three things at once: a structure that folds and holds, a printed surface that sells, and a vessel that survives shipping. Strong box packaging design earns all three. This guide covers the decisions that matter, carton style, board, the dieline, print method, and the finishing that separates a premium unbox from a flimsy one, written for designers who have to hand a real file to a real printer.
Boxes are one branch of the broader packaging system. If you are setting up a project from scratch, start with our packaging design process guide for the full workflow; this article goes deep on the box itself.
Folding Carton vs. Rigid Box
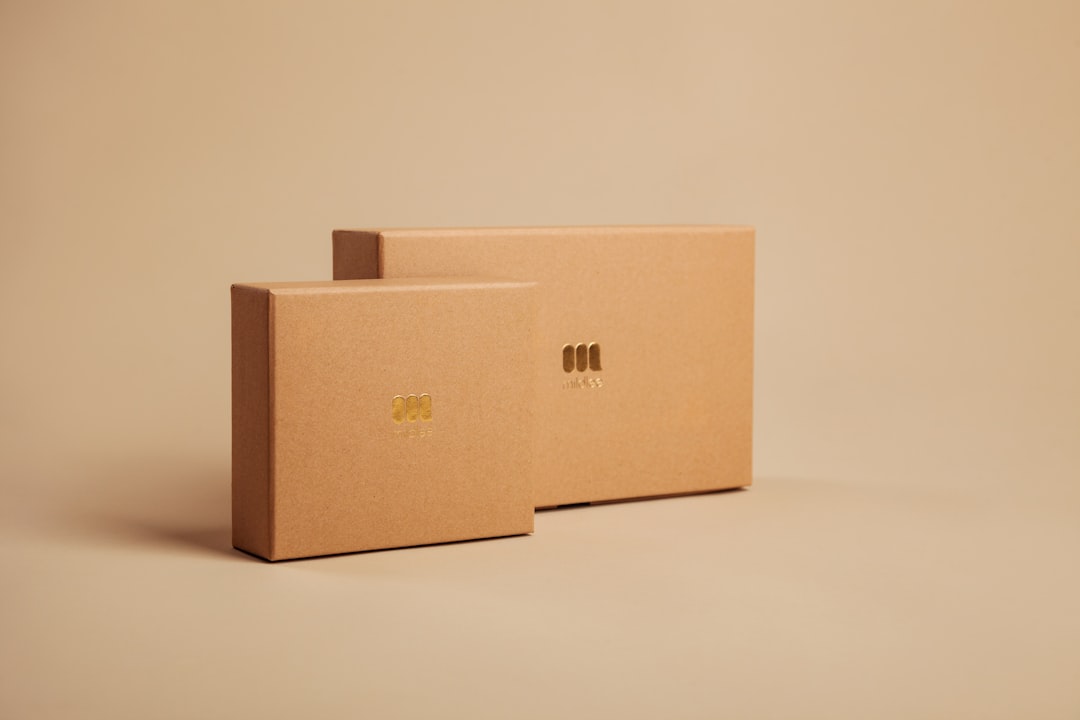
The first fork decides almost everything downstream. A folding carton is cut and creased from a single sheet of paperboard, ships flat, and assembles by folding and gluing. It is economical, fast, and the right call for most retail products, cosmetics, food, electronics accessories. A rigid (set-up) box is built from thick chipboard wrapped in a printed paper, holds its shape permanently, and reads unmistakably premium, the format for phones, luxury goods, and high-end gifting. Rigid boxes cost several times more per unit and carry higher minimums.
| Folding carton | Rigid box | |
|---|---|---|
| Cost per unit | Low | High (3-5x+) |
| Ships | Flat-packed | Often pre-assembled |
| Perceived value | Standard retail | Premium / luxury |
| Best for | Most consumer goods | Gifting, luxury, electronics |
Choosing the Board
Board is specified by type and by caliper (thickness). SBS (solid bleached sulfate) is bright white, takes vivid print, and suits cosmetics and food. Kraft board reads natural and recycled but mutes color and shows print less crisply. FBB (folding box board) is a versatile mid-tier workhorse. For shipping-grade boxes, corrugated adds flute layers for crush resistance. Caliper governs feel and foldability: too thin and the box buckles, too thick and it will not crease cleanly, so let the structural designer or converter recommend caliper for the size and weight.
If recyclability or material reduction is a project goal, settle it at the board stage where it is a clean design decision. Our sustainable packaging design guide covers recycled boards, mono-material construction, and how to cut material without weakening the structure.
Structure and the Dieline
Every box is engineered as a dieline before it is decorated, a flat blueprint showing every cut, crease, fold, and glue tab. Common carton styles each have a standard dieline: the straight tuck end and reverse tuck end for lightweight retail items, the auto-lock bottom (crash-lock) for heavier products that need a sturdy base, and the sleeve for products sitting in a tray. Pick the style for the product’s weight and how it will be packed, then design to that dieline so no artwork crosses a fold or lands in a glue zone.
Source the dieline from your printer; their template matches their tooling. When you adapt one, follow their crease and bleed specs precisely. Our packaging dielines guide breaks down cut versus crease lines, glue-flap placement, and bleed setup, with templates for these common carton styles so you are not building geometry from scratch under deadline.
Designing on the Unfolded Box
Lay the dieline into your artwork file and design every panel in its folded context. The principal display panel carries the brand and product promise; the top and sides do supporting work; the bottom carries the barcode and regulatory copy. Keep critical art clear of creases and glue tabs, and remember the box is seen in three dimensions, so the front and a side are visible at once on the shelf. Design those adjacent faces to work together, not as separate rectangles.
Color and resolution discipline here is identical to any printed work, build in CMYK plus spot inks, pull bleed past every trimmed edge, and never trust your screen for final color. These fundamentals are covered across formats in our print design guide, which is worth a read if prepress is unfamiliar territory.
Print Method and Finishing
Print method follows run size. Digital print suits short and variable runs with no plate cost; offset litho gives the best quality and lowest per-unit cost once volumes justify the setup. For rigid boxes, the printed wrap is usually offset and then mounted to the chipboard shell, which is part of why rigid costs more.
Finishing is where a box becomes desirable, and where budget gets spent on purpose:
- Soft-touch lamination — a velvety matte film that instantly elevates hand-feel.
- Spot UV — glossy raised coating on select areas for contrast against a matte base.
- Foil stamping — metallic or holographic foil for logos and accents.
- Embossing/debossing — tactile raised or recessed relief you can feel.
- Magnetic closure or ribbon — rigid-box touches that define the unboxing moment.
Restraint wins. One foil accent on a soft-touch box reads luxurious; five competing finishes read frantic. And match finishes to the board, spot UV needs a coated stock to register, soft-touch over kraft fights the natural look.
The inside of the box is the most overlooked finishing opportunity. A printed interior, a contrasting color, a pattern, a short message revealed on opening, costs little and transforms the unboxing moment, especially for e-commerce products where the customer opens the box alone at home rather than glancing at it on a shelf. For direct-to-consumer brands, that interior reveal often earns more goodwill per dollar than any front-panel embellishment, because it lands at the exact moment the customer is paying attention.
Prototype Before You Print
Order a physical sample, at minimum a folded white dummy in the real caliper, ideally a printed-and-cut prototype, and put the actual product inside. You will catch a panel that buckles under weight, a tuck that will not stay closed, or a box a few millimeters too tight to pack on the line. If the box ships e-commerce, test the drop. Approving a box from a render alone is the single most expensive mistake in the format.
Frequently Asked Questions
What is the difference between a folding carton and a rigid box?
A folding carton is cut and creased from a single paperboard sheet, ships flat, and is economical, ideal for most retail products. A rigid (set-up) box is built from thick chipboard wrapped in printed paper, holds its shape permanently, and reads premium, but costs several times more per unit and is used mainly for luxury and gifting.
What board thickness should I use for a box?
Board is specified by caliper, and the right thickness depends on the box size and the product weight. Too thin and the box buckles; too thick and it will not crease cleanly. Rather than guessing, let your structural designer or converter recommend a caliper for your dimensions and contents, then prototype it in that exact board.
How do I make a box look premium without a rigid box?
Use a heavier folding-carton board, add soft-touch lamination for hand-feel, and apply one restrained finishing accent like foil or an emboss on the logo. Premium perception comes from material weight and tactile finish more than from extra graphics, so spend the budget on one deliberate effect rather than several competing ones.
Do I need a dieline before designing a box?
Yes, always. The dieline is the box’s engineering blueprint, showing every cut, crease, fold, and glue tab, and it dictates where artwork can safely go. Designing on a flat rectangle without the dieline almost guarantees art crossing a fold or landing in a glue zone, which the printer will reject. Source it from your printer first.