Pattern Design: A Complete Guide
Pattern design is the craft of arranging motifs so they repeat across a surface without visible seams or awkward gaps. Done well, a single tile can wrap an entire bolt of fabric, a roll of wallpaper, or a print-on-demand catalogue of products. This guide walks through every part of the discipline: the repeat systems professionals actually use, the motifs and styles worth knowing, the software that gets you there, and how patterns are licensed and sold.
Whether you are a graphic designer adding a new revenue stream or an illustrator wanting your work on fabric, the fundamentals are the same. Master the repeat, and everything else is decoration.
What Is Pattern Design?
A pattern is any design built from one or more motifs — the individual drawn elements, like a flower, a leaf, or a geometric shape — that recur in a predictable structure. The unit you actually build is called the tile or repeat unit: a self-contained rectangle that, when placed edge to edge in every direction, produces a continuous surface with no breaks.
The entire skill rests on one idea: anything that touches an edge of the tile must continue perfectly on the opposite edge. A vine that exits the right side at a given height has to re-enter the left side at exactly that height. When this holds in all four directions, the pattern is seamless and can scale infinitely. If you are new to building tiles, our step-by-step tutorial on how to make a seamless pattern covers the offset technique in detail.
The Repeat: The Engine of Every Pattern
The repeat is the rule that governs how copies of your tile are positioned relative to one another. Choosing the right repeat affects how natural a pattern looks, how easy it is to print, and how visible any “tracking” lines become — those unwanted diagonal or vertical streaks the eye picks up when motifs line up too rigidly. Below are the repeat types every pattern designer should know. For worked examples of each, see our deep dive on repeat patterns explained with examples.
| Repeat type | How it works | Best for |
|---|---|---|
| Full drop / square repeat | The tile repeats straight across and straight down with no offset. | Geometric grids, checks, simple icon repeats. |
| Half-drop | Each column is shifted vertically by half the tile height. | Florals and tossed motifs; hides tracking lines. |
| Brick / half-brick | Each row is shifted horizontally, like masonry. | Horizontal motifs, brick textures, foulards. |
| Mirror | Alternate tiles flip horizontally or vertically. | Damask, symmetrical ornament, kaleidoscopic looks. |
| Tossed / random | Motifs are scattered at varied angles and spacing. | Organic, hand-drawn florals and scatter prints. |
The half-drop is the workhorse of commercial textile design because the half-height stagger breaks up the visual grid, making the eye read a denser, more natural-looking field rather than obvious rows.
Motifs and Classic Pattern Styles
Knowing the named styles gives you a shared vocabulary with buyers, art directors, and manufacturers. These categories recur across centuries of textile and surface work:
- Ditsy — small-scale, densely scattered florals or motifs, common on dresses and quilting cotton.
- Foulard — small, neat geometric or paisley motifs in a tidy, often half-brick layout; the classic necktie print.
- Damask — large, symmetrical, ornamental motifs, traditionally tone-on-tone and built on a mirror repeat.
- Ikat — blurred, feathered edges that imitate the resist-dyeing technique of woven ikat textiles.
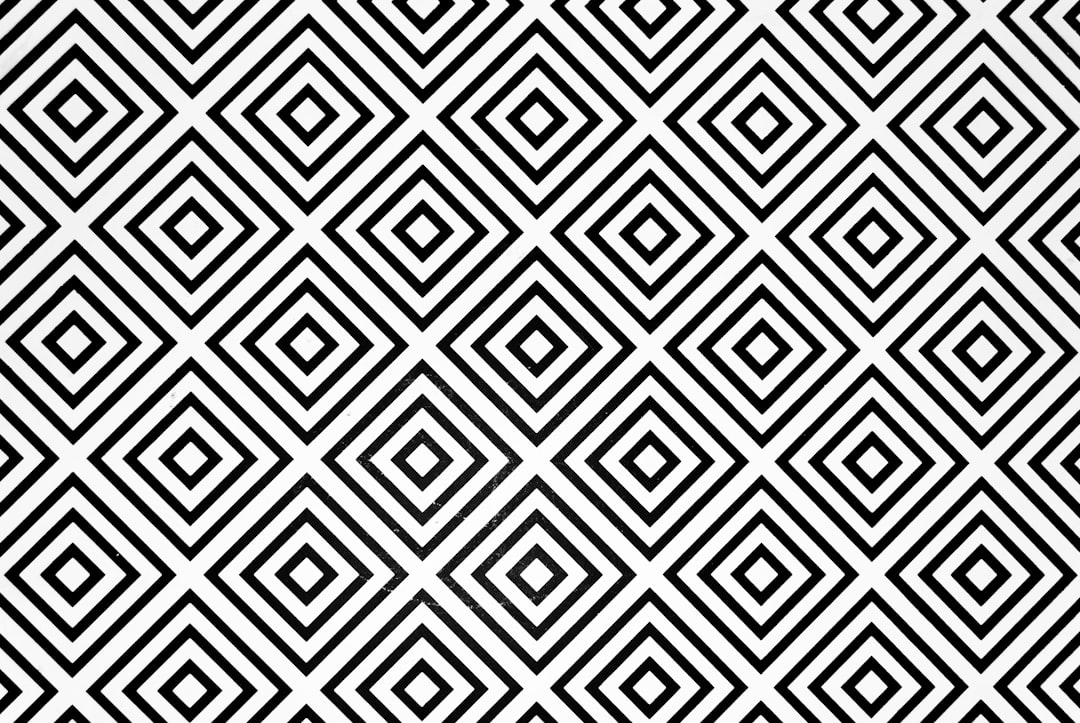
- Geometric tessellation — interlocking shapes that fill a plane with no gaps, from simple hexagons to complex Islamic-style geometry.
- Tossed florals — flowers placed at multiple rotations to feel hand-strewn rather than gridded.
Choosing Your Software
You can design patterns in vector or raster tools; each has a clear sweet spot.
- Adobe Illustrator — the industry standard for vector patterns. Its built-in Pattern tool (Object > Pattern > Make) lets you build and preview half-drop, brick, and grid repeats live, and vector art scales to any size without losing crispness.
- Adobe Photoshop — best for painterly, textured, or photo-based patterns. The Offset filter (Filter > Other > Offset) is the classic way to expose and heal tile seams.
- Procreate — popular for hand-drawn motifs on iPad; designers paint elements, then assemble the repeat in Illustrator, Photoshop, or with a repeat-specific app.
- Affinity Designer — a one-time-purchase alternative to Illustrator with solid vector tools and growing pattern support.
For learning the mechanics, vector is the most forgiving because you can move motifs after the fact without resampling pixels. Our guide to surface pattern design for beginners goes deeper on building a repeatable workflow.
Building a Pattern Step by Step
- Decide the repeat and tile size. A common starting tile for fabric is a clean square such as 6 in by 6 in or 12 in by 12 in at 150 DPI, sized to the manufacturer’s specs.
- Draw your motifs on a transparent or separate layer so you can reposition freely.
- Compose the center of the tile first, keeping the busiest elements away from the edges initially.
- Handle the edges. In Photoshop, run the Offset filter at 50% of width and height so the seams sit in the middle, then paint over them. In Illustrator, use the Pattern tool and drag motifs across the tile boundary so copies fill the gaps.
- Test the repeat by tiling several copies and stepping back. Look for holes, clumps, and tracking lines.
- Refine and recolor. Produce a colorway or two; buyers love a tight palette and a coordinated set.
Geometric Patterns Versus Organic Patterns
Geometric work — stripes, grids, tessellations, and tiling shapes — relies on mathematical precision and is often fastest in vector with snapping and the full-drop or mirror repeat. Organic work — florals, foliage, and scatter prints — leans on the half-drop and tossed layouts to disguise structure. Many strong collections pair the two: a hero floral plus simple geometric and texture “blenders” that coordinate. If math-driven design appeals to you, our piece on geometric pattern design tips and tools covers tessellation and grid construction.
Color and Building a Collection
Patterns rarely sell as single tiles. Professionals build collections: a detailed hero print, one or two simpler secondary prints, and several blenders — stripes, dots, small geometrics, and textures that coordinate so a buyer can mix and match across products. Blenders are deceptively important; a quilter or apparel maker needs simple coordinates far more often than another busy hero, and a tight set of geometric blenders is frequently the most-used part of a range.
Color ties the collection together. A colorway is the same design in a different palette, and offering three to five colorways of a print multiplies its appeal. Design for easy recoloring from the start: in Illustrator use global swatches or Recolor Artwork; in Photoshop keep elements on separate layers or drive color with adjustment layers. Discipline matters more than range — limit each palette to a handful of colors and reuse them across the whole collection so everything reads as a family. A coherent six-piece collection in four colorways will out-sell two dozen unrelated one-off tiles almost every time.
Scale, Density, and Reading the Surface
Two patterns built from the same motif can succeed or fail purely on scale and density. Scale is how large the motif prints; density is how much of the surface it covers. A motif that looks balanced fit-to-screen can read as an indistinct blur when printed small on fabric, or as oversized blobs when blown up for wallpaper. Always preview at true print size before you commit, and consider producing the same design at two scales — a small “ditsy” version and a large statement version — to widen its uses.
Density governs how the eye reads the field. Too sparse and the surface looks like scattered islands with distracting holes; too dense and motifs clump into muddy masses. The fix in both cases is filler motifs — smaller secondary elements like buds, dots, or leaves that even out the spacing. Balanced density, combined with the right repeat, is what makes an all-over pattern feel effortless rather than engineered.
From Pattern to Product: Printing and Licensing
A finished pattern earns its keep in two main ways. Print-on-demand platforms such as Spoonflower let you upload a tile, set the repeat and scale, and sell fabric, wallpaper, and home goods with no inventory. Licensing means a manufacturer or brand pays to use your design on their products, typically as a royalty or flat fee per design.
A few technical points keep your work production-ready:
- Resolution: fabric printing commonly wants 150 DPI at final print size; some processes ask for 300 DPI.
- Repeat size: state your repeat in inches or centimeters so buyers know the scale (e.g., a 21 in vertical repeat for wallpaper).
- Color mode: deliver in the color space your manufacturer requests; some screen-printing setups limit you to a fixed number of spot colors.
- File format: layered source plus a flattened, seamless export (often PNG or TIFF, or vector for scalable work).
Pattern design also sits next to broader surface work like wovens and knits. If you want to understand how repeats translate to cloth specifically, start with our textile design basics for beginners.
Common Mistakes to Avoid
- Visible seams — caused by not healing the offset edges; always tile-test before exporting.
- Tracking lines — diagonal streaks from over-aligned motifs; switch to a half-drop or vary motif placement.
- Holes and clumps — uneven density; fill gaps with secondary “filler” motifs.
- Wrong scale — a print that looks great on screen can read as a blur on fabric; always preview at true print size.
- Inconsistent palette — limit your colors and reuse them across a collection for a cohesive set.
Frequently Asked Questions
What is the difference between pattern design and surface pattern design?
Pattern design is the broad craft of creating repeating motifs. Surface pattern design specifically applies those repeats to physical and digital surfaces — fabric, wallpaper, packaging, stationery, and product mockups. In practice the terms overlap heavily, and many professionals use “surface pattern designer” to describe the commercial side of the work.
Do I need to draw to be a pattern designer?
Not necessarily. Geometric, striped, and texture-based patterns rely more on construction and color sense than on drawing skill. Vector tools let you build precise tessellations from simple shapes. That said, hand-drawn florals and illustrative motifs do reward drawing ability, so it widens the styles you can offer.
What software is best for beginners?
Adobe Illustrator is the most forgiving starting point because its Pattern tool previews repeats live and vector motifs can be moved without quality loss. Affinity Designer is a strong one-time-purchase alternative. For hand-drawn work, many designers paint in Procreate and assemble the repeat in Illustrator or Photoshop afterward.
How do I make money from patterns?
The two main routes are print-on-demand, where platforms like Spoonflower let you sell fabric and home goods with no inventory, and licensing, where a brand pays a royalty or flat fee to use your design. Many designers combine both, plus selling digital pattern packs to other creators.
What size should a repeat tile be?
It depends on the end product. A common starting square for fabric is 6 in or 12 in at 150 DPI, while wallpaper repeats are often stated as a vertical measurement like 21 inches. Always check your manufacturer’s or print-on-demand platform’s exact specifications before exporting.