How to Make a Font: A Beginner’s Guide
Learning how to make a font is far more achievable than most people assume — the barrier is patience, not talent or expensive tools. The process always follows the same five stages: sketch your letters, digitize them as vectors, space and kern them, hint them for screens, and export the finished file. This guide walks a complete beginner through each stage and points out the mistakes that quietly sink first projects.
If you want the broader context of the craft before you start, read our pillar on type design and how typefaces are made. This article is the hands-on version: the actual steps to get your first working font.
Step 1: Decide What Your Font Is For
Before drawing anything, answer one question: what is this font for? A font built for long paragraphs of body text needs different proportions than one built for big, punchy headlines. Body text wants a generous x-height, open shapes, and modest contrast so it stays comfortable at small sizes. A display font for posters can be far more expressive because it only ever appears large.
For your first project, choose a display or limited-purpose font. They are more forgiving than text faces, where spacing and legibility flaws are merciless. Write down three words describing the mood you want — say “geometric, friendly, rounded” — and keep them in front of you as a constant reference.
Step 2: Sketch Your Key Letters by Hand
Do not draw the whole alphabet first. Professionals start with a few control characters that define the system. Sketch the lowercase n and o to lock in your stem weight and curve logic, then H and O for the capitals. From those four shapes, most other letters can be derived.
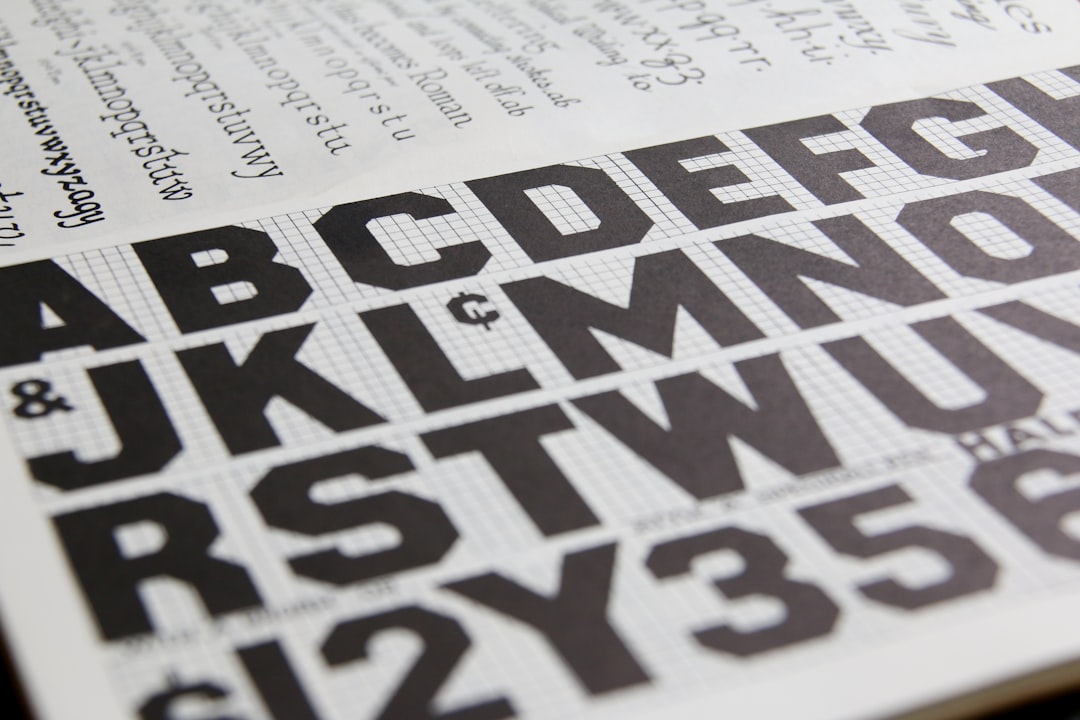
Type designers often sketch the test words “hamburgevons” and “adhesion” because between them they contain straight stems, curves, joins, and diagonals — enough to reveal whether your design holds together. Sketch on paper or a tablet; the medium does not matter. What matters is committing to consistent proportions before you go digital.
Step 3: Choose Your Font Software
You need a real font editor — a drawing app alone will not produce a usable font. Here are the options that matter for beginners and beyond.
| Software | Cost | Platform | Why pick it |
|---|---|---|---|
| BirdFont | Free | Cross-platform | The best no-cost way to learn the whole workflow |
| Glyphs | Paid | macOS | The most popular modern editor; gentle learning curve, big community |
| FontLab | Paid | macOS / Windows | Deep and professional; the only major paid Windows option |
| RoboFont | Paid | macOS | Minimal and scriptable; great if you like Python automation |
Start with free BirdFont if you only want to learn, or Glyphs if you are on a Mac and serious. You can use Adobe Illustrator to draw your initial letter shapes — its pen tool is comfortable — but you must bring those shapes into a font editor for everything that follows, because Illustrator has no concept of spacing, kerning, or font metrics.
Step 4: Digitize Your Letters as Clean Vectors
Import or trace your sketches inside the editor and rebuild them as precise vector outlines. The golden rule is to use as few points as possible, placed at the extremes of each curve (top, bottom, left, right). Too many points create lumpy curves that print and render poorly.
Keep stroke weight consistent across every letter. If your n has stems of a certain thickness, your m, h, and r should match. This consistency — what type designers call uniform stroke modulation — is what makes a set of letters read as one coherent typeface rather than a collection of unrelated shapes. Learning the proper names for each part you are drawing makes this far easier; our guide to font anatomy is the vocabulary you will use at this stage.
Step 5: Space Your Letters
This is the step beginners skip and immediately regret. Spacing is the white space you assign to the left and right of each letter (its sidebearings). Get it right and words flow evenly; get it wrong and your text looks like it is tripping over itself.
A reliable method is to space your letters against repeated controls. Set a string like “nnonon” and adjust the sidebearings of “o” until the rhythm between letters looks even. Do the same with “HHOHOH” for caps. Trust your eye over the numbers — even spacing is a visual judgment, not a mathematical one.
Step 6: Kern the Problem Pairs
After spacing, certain letter combinations still look wrong because of their shapes. Kerning fixes these specific pairs. Classic offenders include “AV”, “To”, “We”, “LT”, and “Yo”, where a diagonal or open letter creates an awkward gap. You adjust the distance for just that pair without changing the letters’ general spacing.
For a first font, you do not need hundreds of kerning pairs. Handle the obvious dozen or two and your font will read cleanly. Over-kerning is as common a beginner trap as under-kerning.
Step 7: Hint, Test, and Export
If your font will appear at small sizes on screens, add hinting — instructions that snap key features to the pixel grid so letters stay sharp. Many editors offer automatic hinting that is good enough for a first release. Then test relentlessly: type real sentences, set a full paragraph, view it on different screens, and print a page. Problems hide in real text that look invisible in a single-letter view.
When it reads well, export. You will typically generate an OTF or TTF for desktop use and a WOFF2 for the web. To understand which format goes where and why, see our guide to font file formats.
Common Beginner Mistakes to Avoid
- Drawing the whole alphabet before testing. Lock your control characters first.
- Ignoring spacing. A well-drawn but poorly spaced font reads worse than the reverse.
- Too many points on curves. Fewer, well-placed points make smoother letters.
- Inconsistent stroke weight. Mismatched stems break the typeface’s unity.
- Trying to build the font entirely in Illustrator. Move into a real editor early.
If you want to judge your result objectively, run it against our checklist for what makes a good font. And if your goal is eventually to design type professionally — including bespoke faces for clients — our overview of custom font design for brands shows where the skill can lead.
Frequently Asked Questions
How long does it take to make a font?
A simple display font with a basic character set can be made in a weekend to a couple of weeks as a beginner. A polished, well-spaced text font with multiple weights takes far longer — often months. Spacing, kerning, and testing consume more time than the actual drawing.
Can I make a font for free?
Yes. Free editor BirdFont can take you through the entire workflow — drawing, spacing, kerning, and exporting — without spending anything. You only need paid tools like Glyphs or FontLab when you want a faster, deeper, more professional workflow.
Do I need drawing skills to make a font?
You need patience and a good eye more than illustration talent. Type design is precise vector editing guided by judgment about curves, weight, and spacing. Many capable font makers are not artists; they simply learned to see and refine letterforms carefully over time.
Can I sell the font I make?
Yes, as long as every glyph is your original work. You can sell directly, through marketplaces, or via a foundry, and you should attach a clear end-user license. Read our font licensing guide to understand the license types buyers will expect.
What is the difference between a font and a typeface?
A typeface is the overall design — the shared look across all the letters. A font is a specific file or style within that design, such as one weight or one italic. When you “make a font,” you are usually designing a typeface and exporting one or more fonts from it.