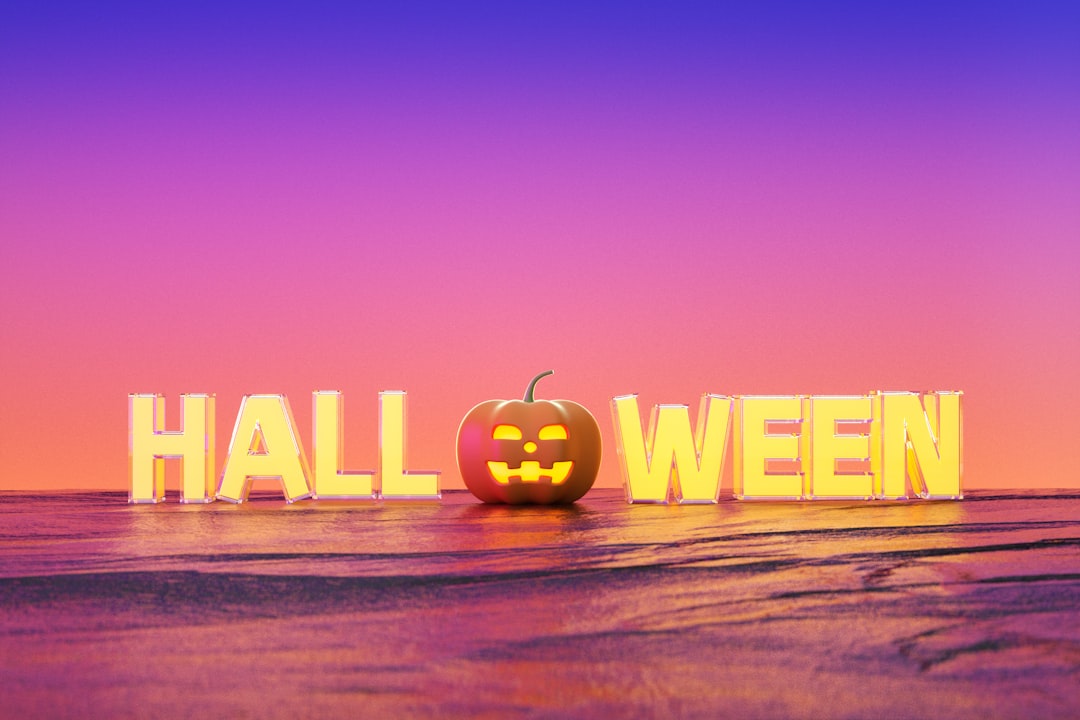
Event Poster Design: Layout and Tips
Event poster design succeeds or fails on one thing: can someone walking past read what, when, and where in about three seconds? Unlike a film poster, which sells a mood, an event poster has to deliver hard information — date, venue, ticket details — while still looking like something worth stopping for. This guide covers the hierarchy, type choices, and print specs that make that happen.
If you’re designing across the entertainment and media space, this article sits under our broader film poster design guide, which covers the shared craft of hierarchy and composition. For music-specific work, our concert poster design guide is a close sibling.
The Information an Event Poster Must Carry
Every event poster answers a fixed set of questions. Before you design, write them down and rank them:
- What — the event name or headline act (the hook).
- When — date and start time.
- Where — venue name and, often, city or address.
- How much / how to get in — ticket price, “free entry,” or a booking link/QR code.
- Who’s behind it — organizer, sponsor, or supporting acts.
The mistake amateurs make is treating all of these as equally important. They are not. The headline and date earn the most visual weight; the address and small print earn the least.
Building the Hierarchy
A poster is read in a glance, then a second look. Design for both passes. The glance should deliver the headline and the date. The second look fills in venue, price, and how to attend.
- Headline first. The event name or main act gets the largest, boldest treatment — this is your title equivalent.
- Date and time second. Often the second-largest element. People decide based on whether they’re free that night.
- Venue third. Clear, but subordinate to the headline.
- Ticket / booking info fourth. A price line, “tickets at,” or a scannable QR code.
- Small print last. Sponsors, age limits, terms — readable up close, invisible from afar.
This staircase of sizes is the same discipline that powers strong visual identity design: deliberate contrast in scale creates an obvious reading order.
Readability From a Distance
Event posters live on walls, poles, and noticeboards where people view them from several feet away — and often while walking. Legibility is non-negotiable:
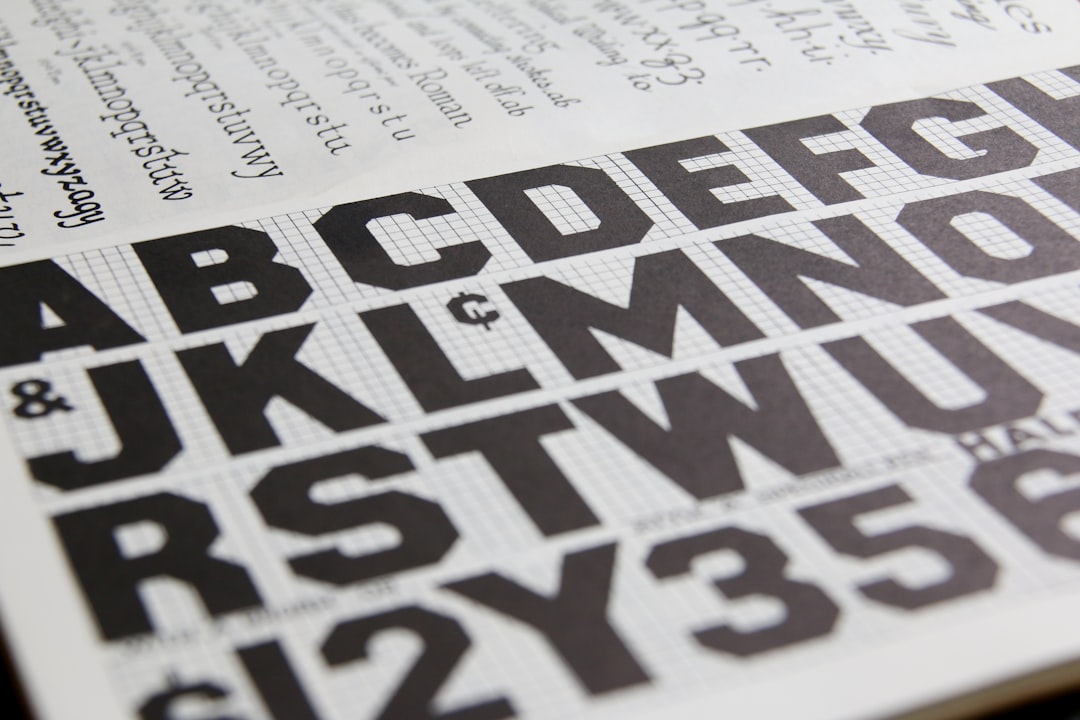
- Use a small number of typefaces. One display face for the headline plus one clean sans for details is plenty. For pairing them without clashing, see our font pairing guide.
- Maximize contrast. Dark type on a light field or light type on a dark field. Avoid placing text over busy parts of an image without a scrim or solid panel behind it.
- Keep the date in plain numerals. “FRI 12 SEP” reads faster than a stylized, hard-to-parse date.
- Mind line length and tracking. Headlines in all caps need extra letter spacing; body details need comfortable leading.
Composition and Visual Interest
Information clarity gets people to read the poster; a strong visual gets them to look in the first place. Balance the two:
- Anchor with one focal image or graphic. A photo, illustration, or bold typographic treatment — not a cluttered collage.
- Use a grid. Align elements to a simple column structure so the poster feels intentional, not improvised.
- Let it breathe. Negative space around the headline reads as confidence and premium quality.
- Repeat a color or shape. A consistent accent color ties the headline, date, and call-to-action together.
Event Poster Sizes and Print Specs
Common event poster sizes in the US, plus the print rules that keep them looking professional:
| Size | Best for | Notes |
|---|---|---|
| 11 × 17 in | Flyers, café and shop windows, noticeboards | Most common low-cost size; reads at arm’s length |
| 18 × 24 in | Mid-size wall posters, lobby displays | Strong balance of presence and cost |
| 24 × 36 in | Large wall and street posters | Maximum impact; reads from across a room |
| 1080 × 1350 px | Social feed (portrait) | Crop the print design to vertical for promotion |
| 1080 × 1920 px | Stories / vertical video | Keep key info centered and away from UI overlays |
For any printed poster: add 0.125″ (1/8″) bleed on all sides, keep all critical text inside a safe margin of at least 0.25″, design at 300 DPI, and export in CMYK for accurate print color. Build the master at the largest size and scale down; small type that’s fine at 24 × 36 may need bumping up for an 11 × 17 reduction.
Adding a QR Code or Booking Link
If tickets are sold online, make the path obvious. A QR code placed near the ticket line works well for printed posters — keep it at least 1 inch square at print size, with quiet space around it and strong contrast so phones scan it reliably. Pair it with a short, memorable URL for people who won’t scan. Never bury the call to action in the small print.
Tools
Most event posters are built in InDesign (for precise type and multi-size layout) or Illustrator (for vector-heavy, graphic designs), with Photoshop for any photographic hero image. For a one-off social-only poster, working entirely in Photoshop or Illustrator is fine; for a campaign spanning print and digital, InDesign’s master pages and export presets save real time.
Common Event Poster Mistakes
Most weak event posters fail in the same predictable ways. Audit your design against this list before you send it to print:
- Flat hierarchy. When the headline, date, and small print are all similar sizes, the eye has no entry point and the poster reads as a wall of text.
- Too many fonts. Three or more typefaces fighting for attention looks chaotic. One display plus one sans is the reliable formula.
- Text over busy imagery. Type laid directly on a detailed photo without a panel or scrim becomes unreadable, especially the date.
- Hidden call to action. If a passerby can’t find how to get tickets in two seconds, the poster isn’t doing its job.
- Stylized dates. Decorative date formatting that takes effort to decode costs attendance. Keep dates plain and bold.
- No bleed or low resolution. Files set up without bleed get white edges after trimming, and low-DPI images print soft.
Run a quick squint test: blur your eyes at the finished poster. The headline and date should still be the first things you see. If anything else dominates, your hierarchy needs work.
Related Reading
Event work overlaps heavily with stage and live-music design. See our theater poster design guide for productions that run over weeks, and festival branding when a single event grows into a full identity system across stages, merch, and wristbands.
Frequently Asked Questions
What information goes on an event poster?
Every event poster needs the event name or headline act, the date and time, the venue, and how to attend (price, “free entry,” or a booking link/QR code). Secondary details like sponsors, supporting acts, and age limits go in smaller type. Rank these by importance and assign visual weight accordingly.
What size should an event poster be?
Common US sizes are 11 × 17 inches for flyers and windows, 18 × 24 inches for mid-size wall posters, and 24 × 36 inches for high-impact street posters. For digital promotion, export a 1080 × 1350 portrait for feeds and 1080 × 1920 for stories. Build the master at the largest size and scale down.
What bleed and resolution do I need for printing?
Add 0.125-inch (1/8″) bleed on all sides, keep critical text inside a 0.25-inch safe margin, design at 300 DPI, and export in CMYK for accurate color. These settings prevent white edges after trimming and ensure type and images print crisply rather than soft or color-shifted.
How do I make an event poster readable from a distance?
Use a clear hierarchy with a large headline and date, limit yourself to one or two typefaces, and maximize contrast between text and background. Avoid placing type over busy image areas without a solid panel or scrim behind it, and keep dates in plain, fast-to-read numerals.
Should I put a QR code on an event poster?
Yes, if tickets are sold online. Place the QR code near the ticket line, keep it at least one inch square at print size with quiet space around it and strong contrast, and pair it with a short readable URL. Make the call to action obvious rather than hiding it in small print.