Holiday Design: Seasonal Graphics That Work
Good holiday design is not about piling on snowflakes and glitter. It is about reading the season’s visual shorthand, choosing the right color and type for the mood, and shipping at the correct size and resolution so the piece looks sharp on a fridge door or a phone screen. This guide is the canonical playbook for the whole seasonal calendar: the conventions that read instantly, the production specs that keep print clean, and links to deep dives for every major occasion.
Whether you are designing a single Christmas card or a year-round campaign of seasonal graphics, the same fundamentals apply. Get color, type, and format right and the holiday reads itself.
What Makes Seasonal Graphics Work
Every holiday carries a compressed set of visual cues that audiences decode in under a second. Your job is to lean on those cues without becoming a cliche. Three levers do most of the work:
- Color — the fastest signal. Red and green say Christmas before a single word is read; orange and black say Halloween; pastel pink says spring and Easter. Palette is your headline.
- Typography — sets the tone within the season. A flowing script feels warm and personal; a heavy blackletter or condensed display feels loud and theatrical. Type decides whether “festive” means cozy or chaotic.
- Motif and texture — the supporting cast. Foil, snow, foliage, hearts, or hand-drawn ornaments add richness, but they should frame the message, not bury it.
The discipline is restraint. Pick one dominant color story, one or two typefaces, and a small motif set. Seasonal work fails when it tries to use every cue at once. For type combinations that match each season’s mood, our font pairing guide is the companion reference to keep open while you work.
There is also a strategic layer that separates good seasonal work from forgettable seasonal work: concept before decoration. Before you reach for a single ornament, decide what the piece is actually saying. A Christmas card from a family says something different from a retailer’s holiday promotion, and a Halloween party flyer has a different job from a horror-film poster. Nail the message and the audience first, and the color, type, and motif choices fall into place almost on their own. Decoration applied without a concept is how seasonal design ends up looking like every stock template — which is exactly the trap most people fall into.
A second principle worth internalizing is modernizing the cliche rather than avoiding it. The conventional cues exist because they work; the goal is not to abandon red and green or orange and black, but to refine them. Desaturate a shade, swap one expected color for an unexpected neighbor, replace a literal motif with an abstract one, or give the layout far more negative space than feels comfortable. Small, deliberate departures from the cliche read as fresh and intentional, while still triggering the instant seasonal recognition you want.
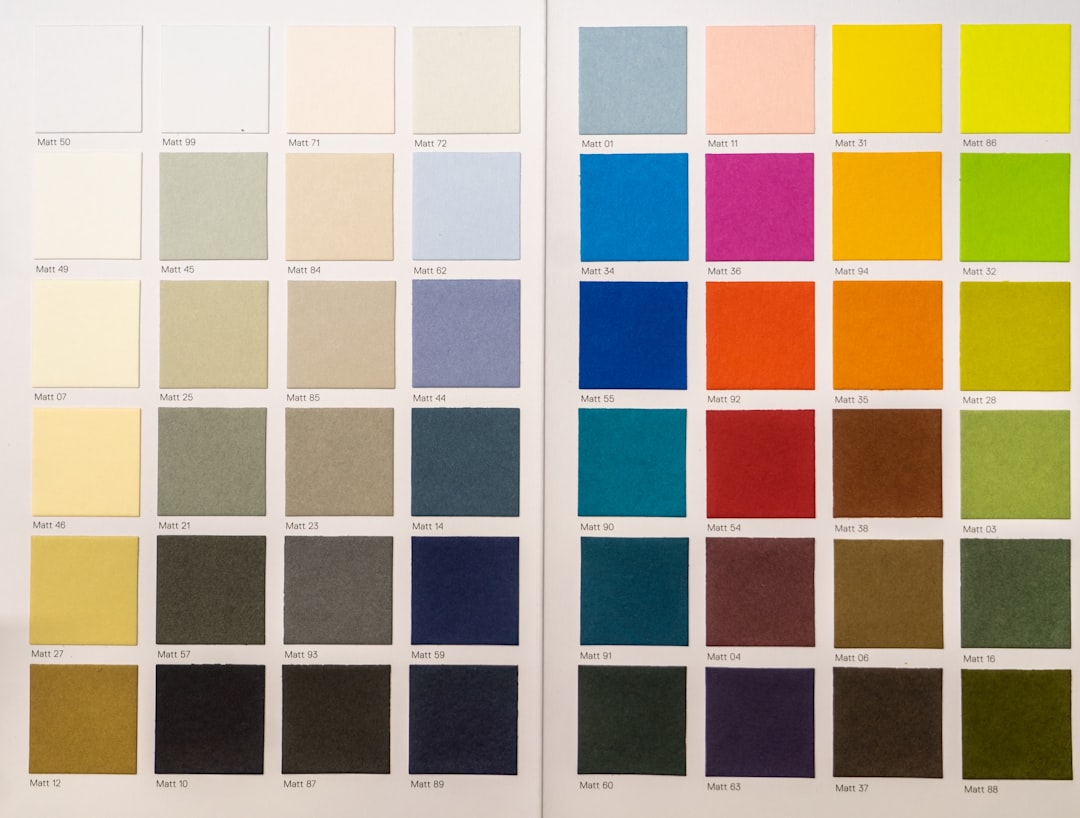
Holiday Color: The Conventions That Read Instantly
Color is the single most efficient way to communicate a season. These are the conventions audiences already understand — start here, then nudge them toward something fresher.
- Christmas — classic reds and forest greens, gold and silver accents, plus deep navy and cream for a more modern, less saturated take.
- Halloween — high-contrast orange and black, with purple, acid green, and blood red as accents. Contrast is the whole point; mid-tones kill the mood.
- Valentine’s Day — reds, blush pinks, and soft neutrals, often with gold or rose-gold foil for an elegant, romantic register.
- Easter and spring — pastels: lilac, mint, butter yellow, sky blue, soft coral.
- Thanksgiving and fall — warm earth tones: burnt orange, ochre, rust, deep brown, sage.
One production note that matters more than any palette choice: color behaves differently in print and on screen. Anything heading to a printer must be built in CMYK, because vivid RGB reds and greens shift and dull when converted. Anything for social or email stays in RGB, where those same colors stay punchy. Design in the color space of the final destination.
Two color decisions trip people up every season. The first is saturation: the most common mistake is running every seasonal color at full intensity, which looks loud and cheap. Vary saturation instead — anchor with a deep, rich version of the dominant hue, let a paler tint do the background work, and reserve full-saturation color for one small accent. The second is limiting the palette. Two or three colors plus a neutral is plenty for almost any seasonal piece. The instant you reach a fourth and fifth color, the design starts to feel like a clearance flyer rather than a considered piece.
If you want a foolproof starting point, build every seasonal palette as a deep anchor color, a light tint of the same family for the background, a warm or cool neutral, and one metallic or bright accent. That four-part structure works across Christmas, Halloween, Valentine’s, Easter, and fall with only the hues swapped.
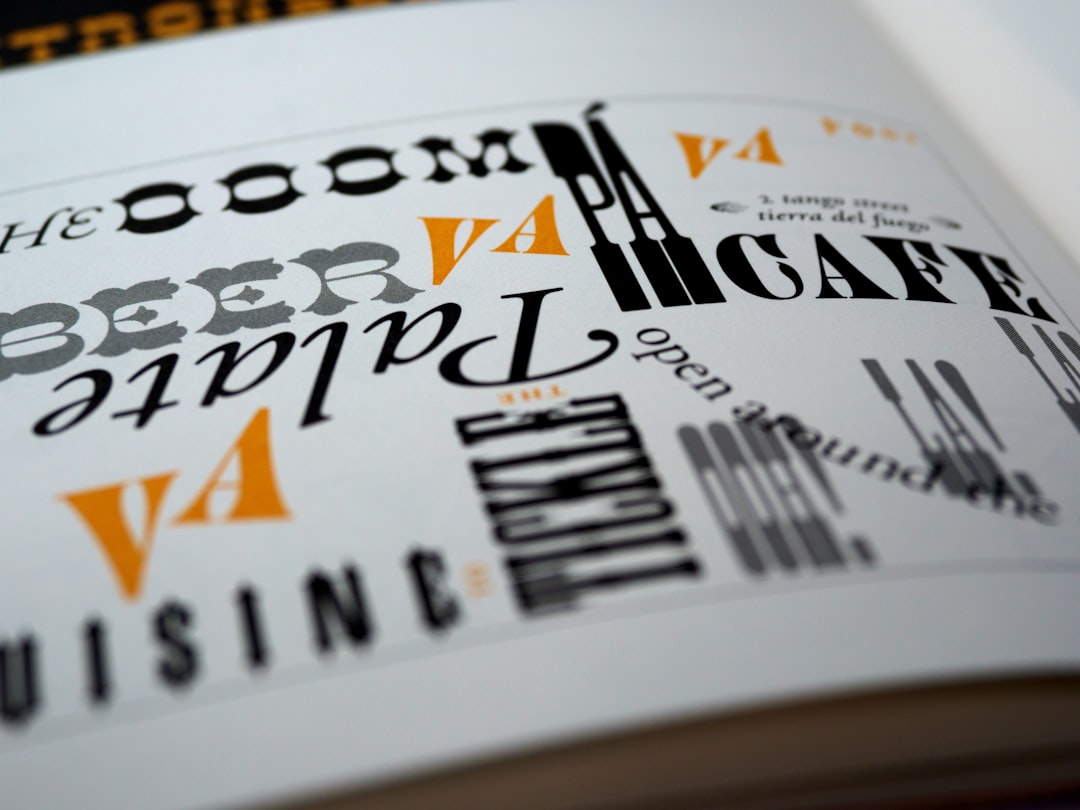
Holiday Typography: Matching Type to Mood
Once color sets the season, type sets the personality. The reliable seasonal pairing pattern is a display or script font for the headline plus a clean serif or sans for the body, so the festive character lives in one or two words and the rest stays readable.
| Occasion | Headline type | Body type | Mood |
|---|---|---|---|
| Christmas | Warm script or classic serif | Humanist serif/sans | Cozy, traditional |
| Halloween | Bold display or blackletter | Condensed sans | Loud, theatrical |
| Valentine’s Day | Elegant script | Light serif | Romantic, refined |
| Birthday | Playful rounded display | Friendly sans | Fun, celebratory |
| Thank-you | Subtle script or refined serif | Quiet sans/serif | Sincere, calm |
Keep weights and sizes deliberate. A single script word at large size reads as a gift; three competing scripts read as a ransom note. Pair one expressive face with one neutral workhorse and you cannot go far wrong.
Legibility is the constraint that keeps expressive type honest. A heavily decorative blackletter or a tightly looped script is wonderful on two or three large words and exhausting on a paragraph. The practical rule: let the expressive face handle the emotion (the greeting, the event name, the milestone number) and let the neutral face handle the information (dates, addresses, body messages, fine print). When in doubt, set the expressive word larger and the neutral text smaller, and the hierarchy resolves itself. Spacing matters too — give a script headline generous breathing room above and below, because crowding kills the elegance that made you choose it.
Print Specs Every Holiday Designer Needs
Most holiday pieces are printed, and print is unforgiving. Memorize these numbers and your files will sail through any printer.
- Resolution: 300 DPI for anything printed. Screen and social can stay at 72 DPI.
- Color mode: CMYK for print, RGB for digital.
- Bleed: add 0.125″ (1/8 inch) of bleed on every edge so trimming never leaves a white sliver. Keep important text inside a safe margin roughly 0.125–0.25″ from the trim.
- File format: press-ready PDF with bleed and crop marks for commercial printing; high-quality JPG or PNG for home and online printers.
Standard Sizes for Cards and Posters
Using a standard size means your piece fits stock envelopes, frames, and printer presets without custom (and pricey) trimming. These are the workhorses.
| Piece | Common size | Notes |
|---|---|---|
| A2 card | 4.25 × 5.5 in | Folded from 5.5 × 8.5; fits A2 envelopes |
| Standard greeting card | 5 × 7 in | Folded or flat; the most popular card size |
| Flat card / postcard | 4 × 6 or 5 × 7 in | Single-sided, no fold |
| Small poster | 11 × 17 in | Tabloid; events, shop windows |
| Medium poster | 18 × 24 in | The default poster size |
| Large poster | 24 × 36 in | Movie-poster scale, high impact |
For folded cards, remember you are designing a four-panel layout (front, inside-left, inside-right, back) on one flat sheet. Set up the document as the flat dimension and fold to the finished size. A 5 × 7 finished card, for example, starts life as a 10 × 7 flat sheet; an A2 card starts as 8.5 × 5.5. Getting this wrong is the single most common production error — people design at the finished size, send it to print, and end up with a card half the size they expected.
One more sizing instinct worth building: match the format to the occasion’s tone. A flat postcard suits a quick, casual greeting or a promotional announcement; a folded card suits anything personal that wants an inside message; an oversized poster suits an event that needs to command a wall. The format is part of the message before a single word is read, so choose it as deliberately as you choose the type.
Print vs Digital Delivery
Many holiday projects ship in two forms: a printed card and a digital version (an e-card, an email banner, or a social post). Build the print version first at 300 DPI in CMYK, then export a separate RGB version resized for screen. Do not just upload the print file — it will be oversized and color-shifted.
- Instagram post: 1080 × 1080 px (square) or 1080 × 1350 px (portrait).
- Instagram/Facebook story: 1080 × 1920 px (vertical).
- Email banner: 600 px wide is the safe content width.
- E-card: 1200–1500 px wide JPG or animated GIF/MP4.
The Right Tool for the Job
You do not need every app — you need the right one for the output.
- Canva — fastest path for social graphics, simple cards, and non-designers. Huge template library and built-in print ordering.
- Adobe Illustrator — vector work: logos, ornaments, scalable type-led cards and posters.
- Adobe InDesign — multi-panel layouts, folded cards, and anything print-bound with precise bleed and crop-mark control.
- Adobe Photoshop — photo-based cards, texture, and raster compositing.
Holiday Design Guides by Occasion
Each occasion has its own conventions worth a dedicated walkthrough. These deep dives cover ideas, wording, sizes, and templates for the seasons people design for most:
- Christmas card design — ideas, layouts, and ready-to-use templates for the busiest card season of the year.
- Halloween poster design — how to do spooky without going cheap, with high-contrast color and display type.
- Valentine’s Day design — romantic color, elegant script, and tasteful ideas for cards and campaigns.
- Birthday card design — a step-by-step on making a card people actually keep.
- Thank-you card design — ideas and sincere wording for personal and business notes.
For more on the broader craft of card layout and folds, the greeting card design reference covers the production fundamentals that apply across every holiday.
Frequently Asked Questions
What colors should I use for holiday design?
Start with each holiday’s conventional palette: red and green for Christmas, orange and black for Halloween, pinks and reds for Valentine’s, pastels for spring. These cues read instantly. Then modernize by desaturating slightly or adding one unexpected accent so your piece feels fresh rather than generic.
What resolution should holiday graphics be?
Use 300 DPI in CMYK for anything printed, such as cards and posters, so the output stays crisp and color-accurate. Use 72 DPI in RGB for screen and social graphics. Always build print and digital versions separately rather than reusing one file for both.
What is the most common greeting card size?
The 5 × 7 inch card is the most popular greeting card size and fits standard envelopes. The A2 card at 4.25 × 5.5 inches is the next most common. For folded cards, design the flat sheet at double the finished width, then fold.
Which software is best for holiday card design?
For quick social graphics and simple cards, Canva is fastest. For scalable, type-led or illustrated work, use Adobe Illustrator. For folded multi-panel cards and print-ready layouts with precise bleed control, use InDesign. Photoshop is best for photo-based cards.
Do I need bleed on a holiday card?
Yes, if any color or image runs to the edge. Add 0.125 inch of bleed on every side and keep important text at least 0.125 inch inside the trim line. This prevents white slivers when the printer cuts the card to its final size.