Merch Design: A Complete Guide for Creators
Merch design is the discipline of turning artwork into physical products people actually wear, carry, and stick on their laptops, without the design falling apart in production. The gap between a great-looking mockup and a great-feeling product is almost entirely technical: file specs, color modes, and choosing the right production method for each item. This guide walks through every decision, from artwork setup to platforms and real 2026 costs, so your merch ships looking the way you intended.
Whether you sell to a niche audience or a mass following, the same fundamentals apply. Get the artwork files right, match the product to the right print method, and price for the margin you need. We will cover all of it, with links to the deep-dive guides for each product type.
What Counts as Merch?
“Merch” covers any branded physical product you sell or give away. The most common categories for creators are apparel (t-shirts, hoodies, caps), paper and vinyl goods (stickers, prints, posters), accessories (tote bags, enamel pins, mugs), and tech goods (phone cases, mousepads). Each category has its own ideal production method, and a design that works beautifully on a sticker may need to be rebuilt entirely for a printed tee.
Across this cluster we cover the big ones in depth: sticker design, tote bag design, and enamel pin design. For the production side, see our guides to print on demand design and screen printing basics. This pillar ties them together.
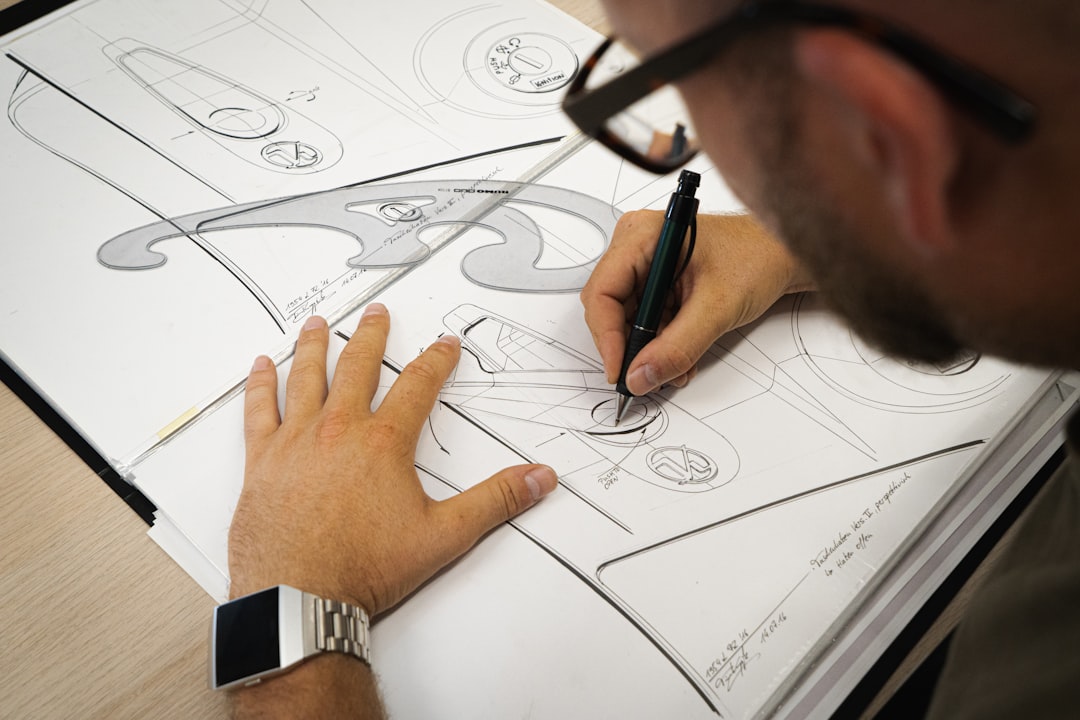
Get Your Artwork Files Right First
Almost every merch problem traces back to the source file. Fix these before you do anything else.
- Vector vs raster — Build logos, type, and flat-color graphics as vector art in Illustrator (or Affinity Designer) so they scale to any size without blurring. Use raster art (Photoshop, Procreate) only for photographic or painterly designs, and build those at the final print size.
- Resolution — Raster artwork must be 300 DPI at the actual print dimensions. A 300 DPI file scaled up to fill a hoodie back is no longer 300 DPI; build it large from the start.
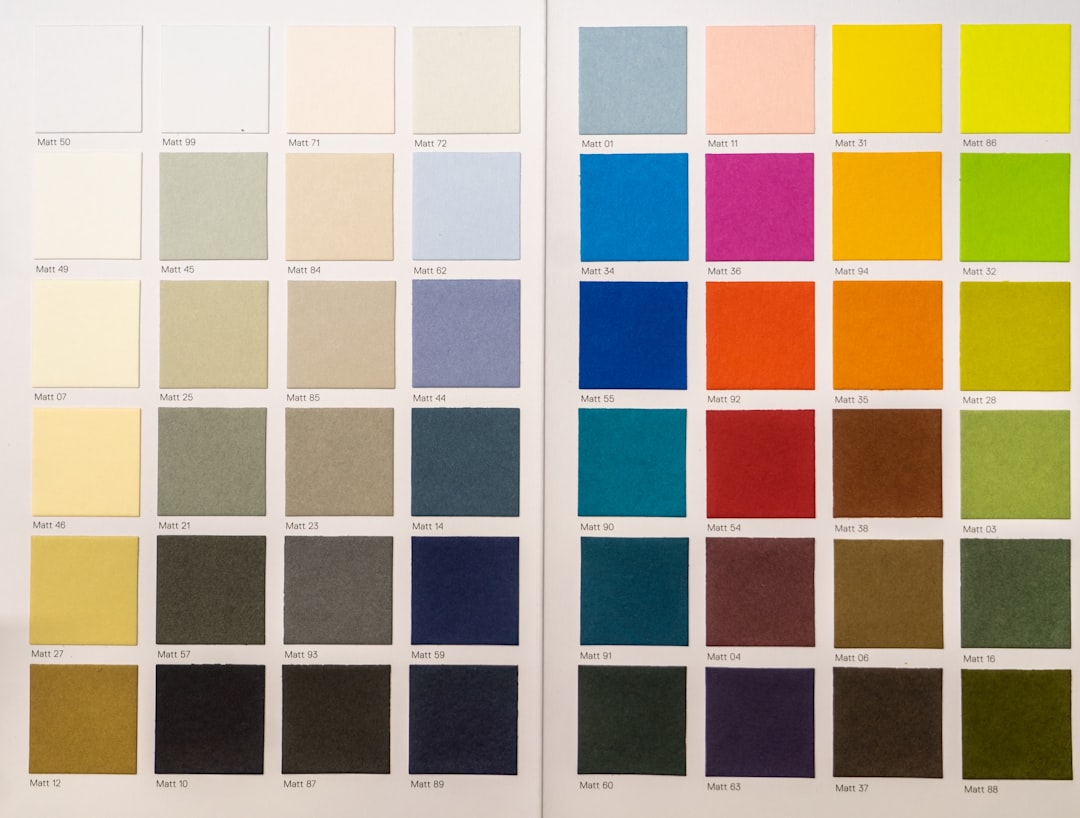
- Color mode — Design in CMYK for anything printed (DTG, screen print, paper goods) and expect colors to shift slightly from your RGB screen. Bright RGB blues, greens, and neons are the most likely to disappoint in print.
- Transparency — Export apparel art as a PNG with a transparent background so there is no white box around your design.
- Outlined fonts — Convert text to outlines/curves before sending files out, so the printer does not need your font installed.
Production Methods, Explained
The production method determines cost, durability, color limits, and minimum order quantity. This is the single most important decision in merch, so understand the trade-offs.
| Method | Best for | Color handling | Trade-off |
|---|---|---|---|
| Screen printing | Bulk apparel, bold flat designs | Spot colors, one screen per color | High setup cost; needs volume to be cheap |
| DTG (direct-to-garment) | On-demand apparel, photographic art | Full color, no setup | Best on cotton; softer on dark garments |
| DTF (direct-to-film) | On-demand, mixed fabrics | Full color, opaque on dark | Slight plasticky hand-feel |
| Vinyl / HTV | Names, numbers, simple shapes | Solid colors only | Not for gradients or fine detail |
| Sublimation | All-over prints, polyester, mugs | Full color, edge-to-edge | Only works on polyester or coated items |
As a rule of thumb: screen printing wins on cost and durability once you are ordering dozens or hundreds of a single design (we break this down in screen printing basics). DTG and DTF win for on-demand selling where you do not want inventory. Sublimation is the only practical way to get true all-over, edge-to-edge prints.
Designing for Apparel Specifically
Apparel has rules that paper goods do not. Keep these in mind:
- Print area — A standard front print is roughly 11–12 inches wide; an oversized or jumbo print can run wider but check your printer’s max. Do not design to the edge of the shirt.
- Garment color — Your design must read on the shirt color. Light designs on dark garments often need a white underbase (automatic in screen printing, handled by DTF/DTG software).
- Thin lines and small text — Anything thinner than about 1.5pt risks breaking up. Set a minimum line weight and minimum text size.
- Placement — Center chest, left chest, full back, and sleeve are the standard zones. Each printer has a placement template; use it rather than eyeballing.
- Halftones and gradients — Easy in DTG/DTF/sublimation, harder and more expensive in screen printing where gradients must be simulated with halftone dots.
Choosing Products That Sell
The best merch product is the one your audience would buy even without your name on it. Quality blanks matter: a soft, well-fitting ringspun-cotton tee sells repeatedly, while a stiff, boxy blank gets worn once. For accessories, durability is the selling point, an enamel pin or a sturdy canvas tote lasts for years and keeps your brand in circulation. Stickers are the lowest-risk entry point: cheap to produce, high margin, and effortless to ship.
Start narrow. A focused range of three or four products you can stand behind beats a sprawling catalog of mediocre items. You can always expand once you know what your audience reuses and re-buys.
Platforms: Print on Demand vs Bulk
You have two broad routes to market, and most creators eventually use both.
- Print on demand (POD) — Services like Printful, Printify, and Gelato print each item only when it sells, then ship directly to the customer. Zero inventory, lower margins, no upfront risk. Marketplaces like Redbubble handle the storefront too. See our print on demand design guide for the full setup.
- Bulk / wholesale — Order quantity from a screen printer or specialist (for example Sticker Mule for stickers, or a local screen shop for apparel). Higher upfront cost and you hold inventory, but far better per-unit margins and product quality.
The common path is to validate demand on POD, then move your best-sellers to bulk production for better margins once volume justifies it.
Real Costs and Margins (as of 2026)
Pricing varies by region, supplier, and volume, so treat these as planning estimates as of 2026, not quotes:
- POD apparel — Base cost commonly lands around US$10–18 per tee and US$25–40 per hoodie before your markup; you set the retail price and keep the difference.
- Bulk screen-printed tees — Often US$5–10 each at a few dozen units for a one- or two-color print, dropping further at higher quantities. Setup fees per screen are the reason small runs are pricey.
- Stickers — Frequently a few cents to under a dollar each in volume, making them the highest-margin merch item.
- Enamel pins — Typically have a minimum order quantity (often around 100 units) and a per-unit cost that falls sharply with size of order and simplicity of design.
Whatever the method, price for the margin you actually need after platform fees, shipping, and returns, not just cost-plus-a-little.
Branding and Cohesion Across Products
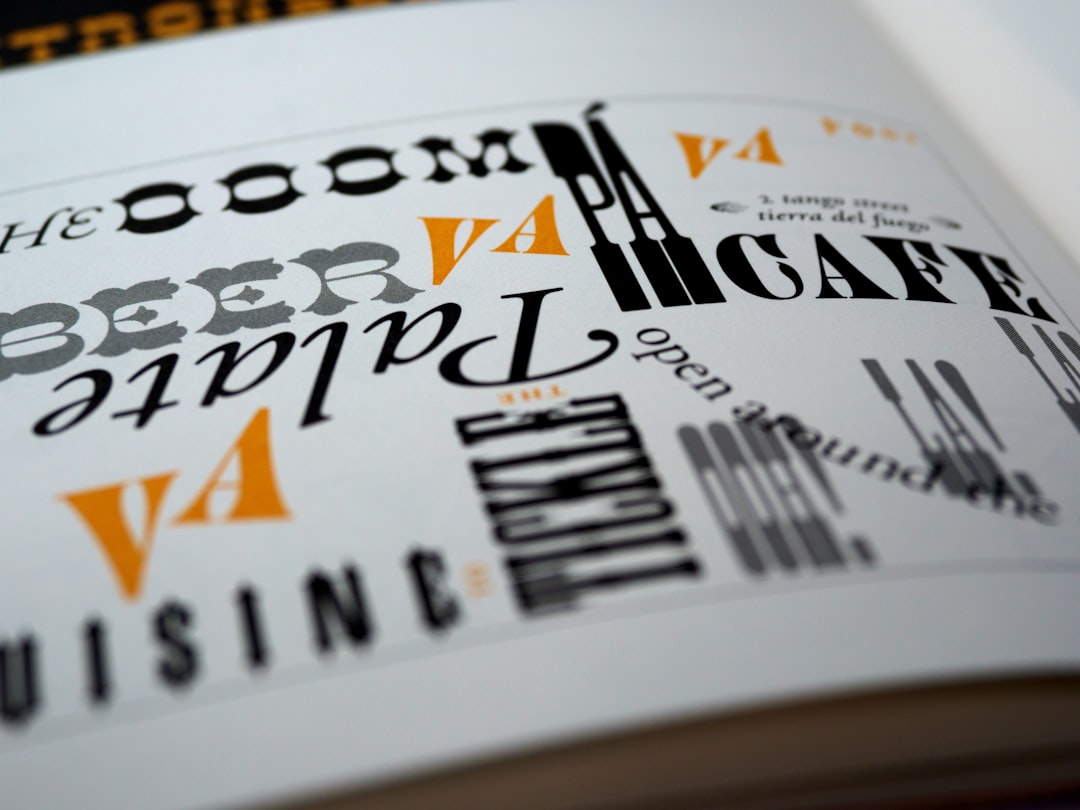
A merch range should feel like one collection, not a pile of unrelated designs. The fastest way to look amateurish is to mix typefaces, color palettes, and styles across products. Lock a small system early: one or two typefaces, a defined color palette, and a consistent logo or wordmark treatment, then apply it across every item. A sticker, a tee, and a tote from the same drop should read as siblings.
Cohesion also makes production easier. When your designs share a palette, you can reuse the same spot colors across screen-printed items, and a consistent logo means one master file feeds multiple products. Think of merch as a capsule collection with a shared visual language, not a series of one-offs, and both the look and the economics improve.
Common Merch Design Mistakes to Avoid
Most failed merch repeats the same handful of errors. Avoid these and you are ahead of most sellers:
- Designing in RGB and shipping it — Bright on-screen colors shift in CMYK print. Design in CMYK and proof before you list.
- Low-resolution or upscaled art — A small image stretched to fill a hoodie back prints blurry. Build at 300 DPI at final size, or use vector.
- Ignoring the garment color — A dark-outlined design vanishes on a black shirt. Make garment-specific versions and add an underbase where needed.
- Too much detail for the method — Hairline lines break up in screen printing and on textured fabric. Set minimum line weights.
- Skipping the sample — Listing a product you have never held leads to returns and bad reviews. Always order one of each first.
- Pricing on cost alone — Forgetting platform fees, shipping, and returns erodes margin to nothing. Price for real profit.
A Practical Merch Workflow
- Concept — Decide the idea and which products it suits. Some designs are stickers; some are full-back screen prints.
- Build the master file — Vector where possible, 300 DPI raster where not, in the correct color mode at final size.
- Adapt per product — Resize and recolor for each item’s print area and garment/background color.
- Proof — Order one sample of each product before you list it. Always.
- Launch small — Start with POD to test demand, then move winners to bulk.
- Iterate — Drop what does not sell, reprint and expand what does.
Frequently Asked Questions
What software do I need for merch design?
For vector artwork like logos and flat graphics, use Adobe Illustrator or Affinity Designer. For photographic or painterly designs, use Photoshop or Procreate built at 300 DPI. Most creators use a vector tool for type and shapes and a raster tool for texture and illustration, then export print-ready PNG or vector files.
What is the difference between screen printing and DTG?
Screen printing pushes ink through a stencil, one screen per color, so it is cheapest and most durable at higher volumes but has setup costs. DTG (direct-to-garment) prints full color directly onto fabric like an inkjet, with no setup, making it ideal for on-demand and photographic designs but less economical in bulk.
Do I need to design in CMYK or RGB?
Design printed merch in CMYK so your screen colors match the final print more closely. RGB is for screens only, and bright RGB blues, greens, and neons often shift noticeably when printed in CMYK. Always order a physical proof, because no on-screen preview perfectly predicts how ink looks on a specific fabric or paper.
How much does it cost to start a merch line?
With print on demand you can start for essentially zero upfront cost, paying only when items sell. Bulk production requires upfront investment, often a few hundred dollars for a small screen-print run or an enamel pin minimum order. As of 2026, most creators start on POD to validate demand, then move best-sellers to bulk for better margins.
What resolution should merch artwork be?
Raster artwork should be 300 DPI at the actual print size, not scaled up after the fact. Vector artwork has no resolution limit and is preferred for logos, type, and flat-color designs because it scales cleanly to any product size. Build raster designs large from the start so they stay sharp on big print areas like a hoodie back.