Print on Demand Design: A Beginner’s Guide
Print on demand design lets you sell physical products with zero inventory: each item is printed and shipped only when a customer orders it. The catch is that you only ever see your design on a screen mockup, so getting the artwork specs exactly right matters more here than anywhere else in merch. This guide covers the platforms, file requirements, print methods, and real 2026 margins so your POD products print the way you intended and actually make money.
POD is one production route within a wider merch strategy. For the full picture of artwork setup and which method suits each product, start with our complete merch design guide, then use this article for the platform-specific workflow.
How Print on Demand Works
You upload artwork, place it on a blank product through the platform’s design tool, and list it in your store. When a sale happens, the POD provider prints, packs, and ships the item, often directly to the customer with your branding. You pay the base cost only after the sale, and keep the difference between that and your retail price. No upfront stock, no warehouse, no minimum order, the trade-off is lower per-unit margins than ordering in bulk.
The Main Platforms
Two models exist: providers that fulfill orders connected to your own store, and marketplaces that host the storefront too.
- Printful — Integration-focused fulfillment with consistent quality and broad product range; connects to Shopify, Etsy, and others.
- Printify — A network of print providers, so you can shop around on price and location; quality varies by provider, so sample first.
- Gelato — Global production network that prints close to the customer to cut shipping time and cost.
- Redbubble — A marketplace: it hosts the store and audience, you upload art and earn a royalty. Easiest start, least control over branding and margin.
A common approach: use a marketplace like Redbubble to test designs with no setup, then move proven sellers onto a fulfillment provider connected to your own store for better margins and brand control.
File Specs That Print Correctly
Because you cannot inspect each item before it ships, your file has to be right every time:
- Resolution — Provide artwork at 300 DPI at the full print size. A common requirement is a large PNG (for example around 4500 × 5400 px for a standard apparel print area).
- Transparent background — Export apparel art as a PNG with transparency so there is no white box around your design.
- Color mode — Most POD tools accept RGB PNGs, but the print is CMYK, so expect bright neons and vivid blues to shift slightly. Avoid relying on out-of-gamut colors.
- Print-area safe zone — Keep important elements inside the platform’s print template; anything outside the boundary gets cropped.
- Mind the garment color — Design separate versions for light and dark garments; a design with dark outlines vanishes on a black shirt.
DTG vs DTF in POD
Most POD apparel is printed with one of two methods, and knowing which affects how you design:
| Method | How it looks | Best for |
|---|---|---|
| DTG (direct-to-garment) | Soft, ink absorbed into fabric; full color | Cotton garments, detailed/photographic art |
| DTF (direct-to-film) | Slightly raised transfer, opaque on any color | Mixed fabrics, vivid color on dark garments |
DTG gives the softest, most “part-of-the-shirt” feel and excels on cotton; DTF gives punchier, fully opaque color including on dark and blended fabrics with a slightly heavier hand. For full-color or photographic designs, both beat the spot-color limits of screen printing, which only becomes cheaper once you order in bulk.
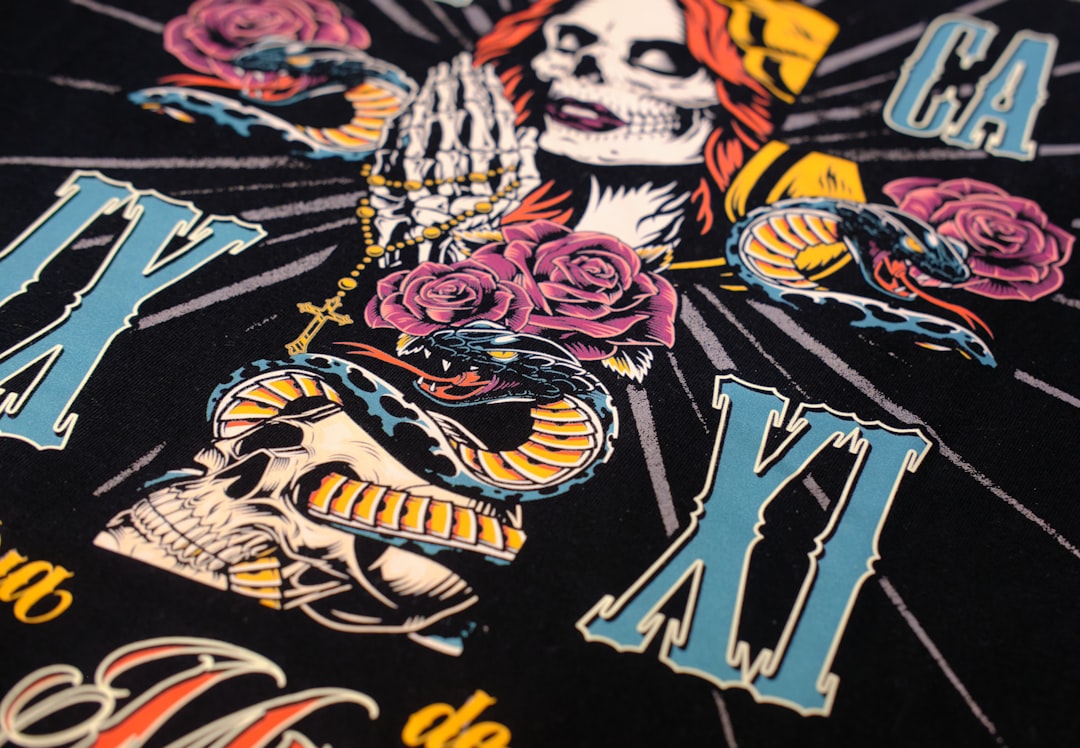
Mockups and Listings
In POD, the mockup is the product as far as the customer is concerned, so it must sell. Use the platform’s clean garment mockups, but a lifestyle photo or a polished generated mockup converts better than a flat template. Show the design on the actual garment colors you offer, and write listings that describe the fit, fabric, and print method so buyers know what they are getting and you reduce returns.
Quality Control Without Holding Inventory
The hardest part of print on demand is that you never touch the product before the customer does, so quality control has to happen up front. Order a sample of every product and color you list, this is non-negotiable, and inspect the print sharpness, color accuracy against your file, garment fit, and how the design feels (DTG soft, DTF slightly raised). If you use Printify’s provider network, sample from the specific provider you plan to assign, because quality varies between print shops even for the same product. Re-sample whenever you change provider, garment, or a design’s colors. A few dollars on samples prevents a wave of returns and protects your reviews, which matter far more than any single sale.
Pricing and Margins (as of 2026)
POD margins are thinner than bulk, so price deliberately. As of 2026, typical base costs before your markup run roughly US$10–18 for a tee and US$25–40 for a hoodie, with totes, mugs, and similar items each carrying their own base. Your profit is retail price minus base cost minus any platform/transaction fees. Build in enough margin to absorb the occasional reprint or return, and remember shipping cost (and who pays it) shapes whether a customer completes the order. Treat all figures as planning estimates and verify current rates on your chosen platform.
The biggest advantage POD gives you is risk-free testing: launch a range, see what sells, and only then move winners to bulk screen printing for better unit economics, or expand into coordinated items like stickers and tote bags.
Frequently Asked Questions
What is print on demand design?
Print on demand design is creating artwork for products that are printed and shipped only when a customer orders, with no upfront inventory. You upload art to a platform like Printful or Printify, place it on a blank product, and list it. The provider fulfills each sale, and you keep the difference between base cost and retail price.
What file size do I need for print on demand?
Provide artwork at 300 DPI at the full print size, commonly a large transparent PNG around 4500 by 5400 pixels for a standard apparel print area. Keep important elements inside the platform’s print template, and prepare separate versions for light and dark garments so dark outlines do not disappear on black shirts.
Which print on demand platform is best for beginners?
Marketplaces like Redbubble are easiest to start because they host the store and audience, so you only upload art and earn a royalty. For more control and better margins, Printful, Printify, and Gelato connect to your own store. Many creators test designs on a marketplace, then move proven sellers to a fulfillment provider.
Is print on demand profitable?
It can be, but margins are thinner than bulk production. As of 2026, base costs commonly run roughly 10 to 18 dollars for a tee before markup, and your profit is retail price minus base cost minus platform fees. Price with enough margin to absorb reprints and returns, and use POD to test demand before committing to bulk.
What is the difference between DTG and DTF printing?
DTG (direct-to-garment) absorbs ink into the fabric for a soft feel and excels on cotton with detailed or photographic art. DTF (direct-to-film) applies a slightly raised transfer that stays fully opaque on any garment color, including dark and blended fabrics, with a slightly heavier hand. Both deliver full color, unlike spot-color screen printing.