Clothing Brand Design: How to Build a Label That Lasts
Clothing brand design is the discipline of turning a name and a point of view into garments people pay to wear and wear in public. It spans three jobs at once: a brand identity that reads on a tiny woven label, artwork that survives a hundred wash cycles, and production files that a decorator can run without emailing you back. Get all three right and you have a label; get one wrong and you have a closet full of returns.
This guide walks the full path: positioning, identity, garment and artwork design, the print and decoration methods that actually matter, file specs that pass production, and the operational decisions that separate a brand from a one-off merch drop. It is the hub for our apparel cluster, so each section points to a deeper companion piece.
Start With Positioning, Not the Logo
Every durable label answers four questions before a single graphic exists: who is this for, what category does it sit in, what does it stand against, and what does a customer get to signal by wearing it. A skate-rooted graphic brand, a minimalist basics line, and a premium embroidered-cap label are three different businesses with three different cost structures and decoration methods. Decide which one you are first.
Positioning drives concrete production choices. A basics brand lives or dies on blank quality and fit, so the budget goes into garments and a discreet woven label, not loud front prints. A graphic-led streetwear brand built on graphics and branding spends on large-format prints, limited drops, and back-of-neck details. Name the customer, then let that dictate where the money goes.
Building the Brand Identity
Apparel identity has a hard constraint most logo design ignores: your mark has to work woven into fabric at 15mm, embroidered onto a cap, and screen-printed at 14 inches across a back. That range punishes thin lines, tight counters, and fine gradients.
- Primary logo — built as clean vector in Illustrator, legible in a single color. If it dies in one color, it will die on a woven label and on embroidery.
- Wordmark and monogram — a compact secondary mark for sleeve hits, cap fronts, and hem tags where the full lockup will not fit.
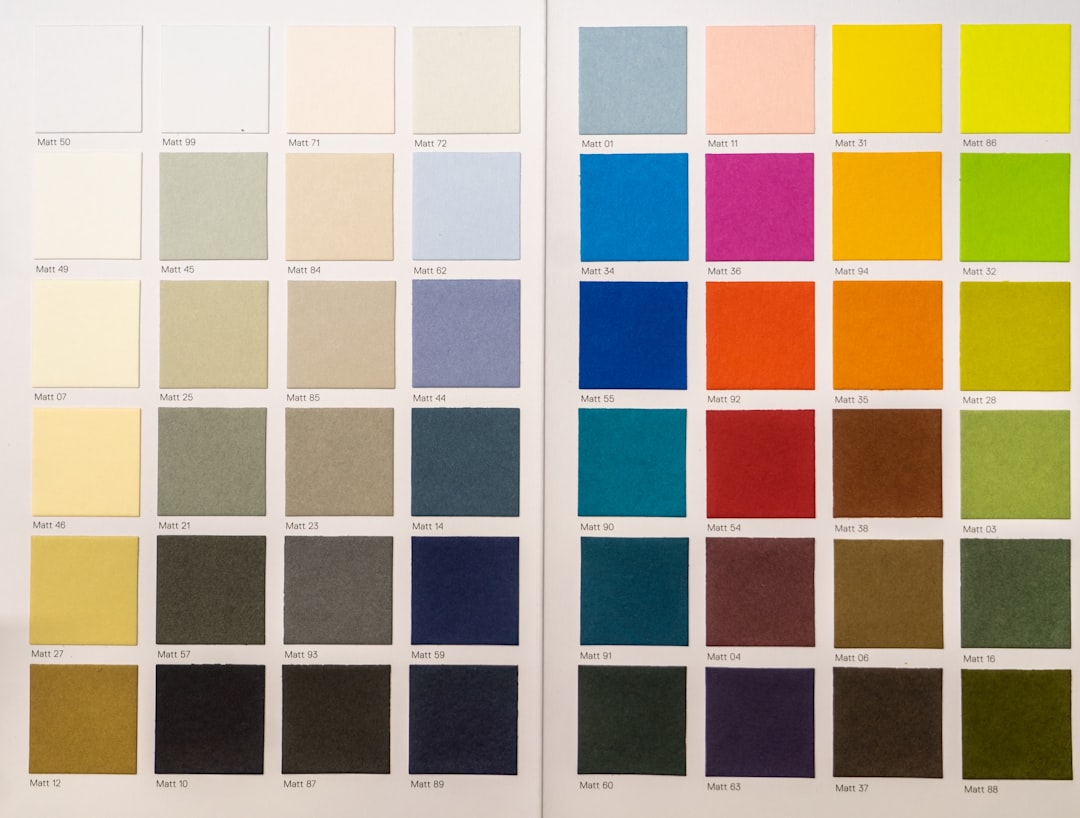
- Color palette — define both screen/RGB and physical references. For garments that means thread colors (Madeira/Isacord), ink references (Pantone spot for plastisol), and named blank colors. “Black” on a hoodie, a tee, and a cap are three different blacks.
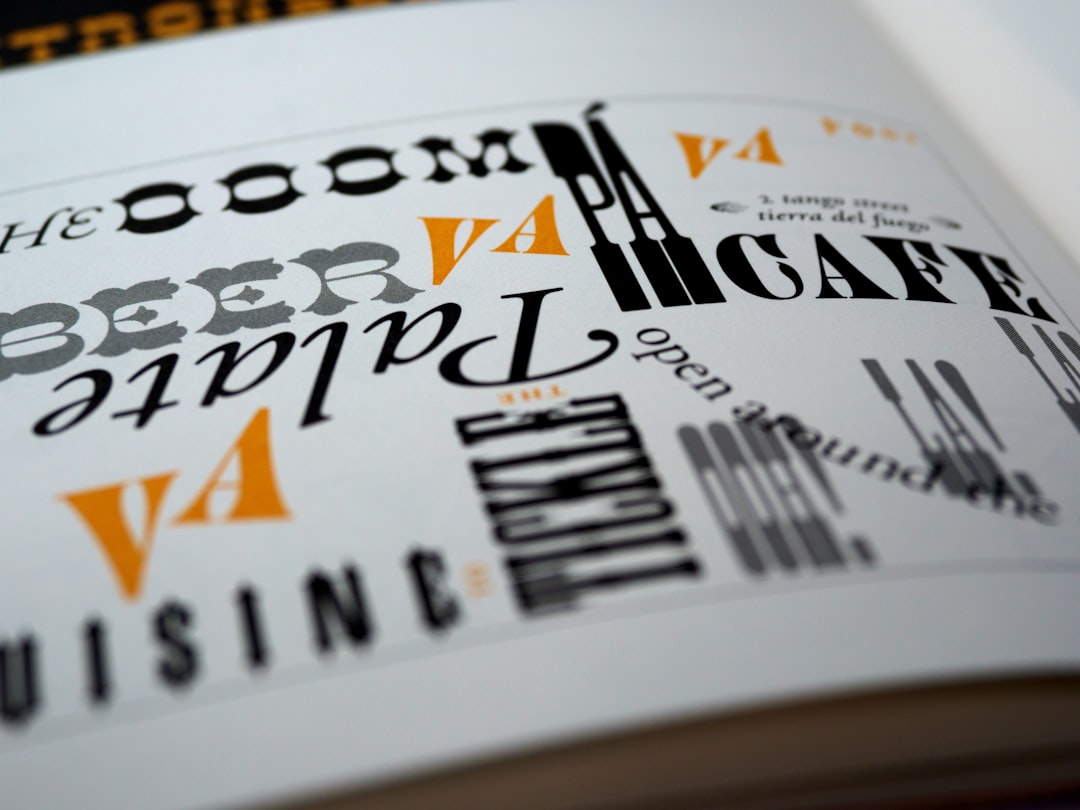
- Type system — a display face for graphics and a workhorse face for size runs, care labels, and the lookbook.
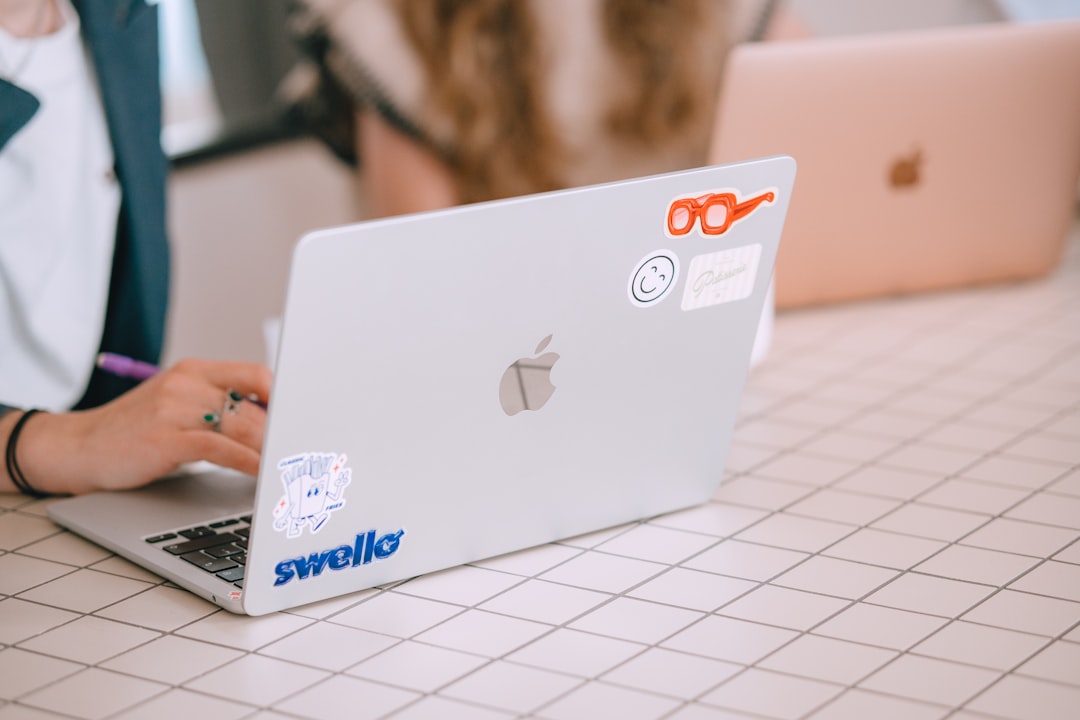
Treat the woven neck label, hem tab, and hangtag as part of the identity, not afterthoughts. They are where customers verify the brand is real.
Garment Selection and Fit
The blank is the product. Customers feel fabric weight and fit before they read your graphic. Spec garments by weight (gsm or oz), fabric content, and fit block, and order samples in every colorway before you commit.
| Garment | Typical weight | Best decoration |
|---|---|---|
| Standard tee | 4.5–6 oz cotton | Screen print, DTG, DTF |
| Premium/heavyweight tee | 6.5–8 oz cotton | Screen print (plastisol/water-based) |
| Pullover hoodie | 8–13 oz fleece | Screen print, embroidery, DTF |
| Structured cap | Twill/buckram front | Embroidery, woven/leather patch |
| Polyester performance | 100% poly | Sublimation (poly only) |
Fabric content dictates method. Sublimation only bonds to polyester; cotton needs ink or DTF film. A 50/50 blend changes how plastisol and water-based inks cure. Lock the blank before you finalize artwork. For the foundational garment, our t-shirt design guide covers blanks, fits, and placement in depth.
Designing the Artwork
Artwork that looks great on screen routinely fails on fabric. Design to the decoration method from the first sketch, not after.
Vector vs. raster
For screen printing and embroidery, work in vector (Illustrator). Each spot color becomes a screen or a thread, so clean, separable shapes are the goal. For DTG (direct-to-garment) and full-color photographic art, work raster in Photoshop at 300 DPI at final print size, in the right color mode, on a transparent background exported as PNG.
Color and limits
Screen printing prices by color count, so a 2–3 color design is far cheaper to run than a 6-color one. Convert brand colors to Pantone spot values for plastisol. DTG and DTF handle unlimited color and gradients but render slightly muted, especially on dark garments where a white underbase is laid first.
Print area and placement
Most decorators cap the print area near 12×16 inches for adult fronts and backs. Standard placements: full-front centered, left-chest (roughly 3.5–4 inches wide), back yoke, sleeve, and back-of-neck. Build a placement guide so every product is consistent across the line.
Decoration Methods Compared
Choosing the right decoration method is the single most consequential production decision. Here is how the main options trade off.
| Method | Best for | File needed | Economics |
|---|---|---|---|
| Screen printing | Bulk runs, bold spot-color graphics | Vector, color-separated | High setup, low per-unit at volume |
| DTG | Full-color, low quantity, print-on-demand | 300 DPI PNG, transparent | No setup, higher per-unit |
| DTF | Color art on mixed fabrics, small runs | 300 DPI PNG, transparent | Low setup, mid per-unit |
| Embroidery | Caps, heavyweight, logos, premium feel | Digitized stitch file (.DST/.PES/.EMB) | One-time digitizing, then per-1000 stitches |
| Vinyl / HTV | Names, numbers, simple text | Vector cut path | Cheap for one-offs, labor-heavy |
| Sublimation | All-over poly prints | High-res raster, CMYK | Poly-only, vivid, permanent |
Plastisol ink sits on top of the fabric with a slightly heavier hand and pops on dark garments; water-based ink soaks in for a soft, vintage feel but needs more skill on darks. For embroidery and stitch-based work, see our deep dive on embroidery design, digitizing, and files. For ink and screen fundamentals, the screen printing basics page covers setup, mesh, and curing.
Production-Ready Files
The fastest way to look amateur is to send a low-res JPG to a decorator. Prepare files to the method’s spec and label them clearly.
- Screen print: vector AI/EPS/PDF, fonts outlined, each spot color on its own layer, Pantone values named, art sized to the actual print dimension.
- DTG/DTF: PNG at 300 DPI at final size, transparent background, no stray pixels, color profile assigned.
- Embroidery: a digitized stitch file (.DST is the universal standard; .PES, .EMB are machine/software-specific), with thread colors mapped and a stitch-count estimate.
- Sublimation: CMYK raster at print resolution, sized for the full panel with bleed.
Keep a master art folder per design with the working file, outlined production file, a mockup, and a spec sheet listing placement, dimensions, colors, and method. This is what makes reorders painless months later.
Product Categories to Launch With
A first drop should be tight and coherent, not a catalog. Pick a hero garment, a supporting piece, and one accessory so the lineup tells one story while spreading across price points.
- Tees — the entry-price hero; easiest to decorate and reorder.
- Hoodies — the margin driver and the canvas for bigger statements. Plan front, back, sleeve, and hood placements deliberately; see our hoodie design templates and tips.
- Caps and hats — high-margin, embroidery-friendly, and a natural logo carrier; our hat and cap design guide covers structured vs. unstructured and brim choices.
Across all of them, decide upfront whether you are decorating in-house, working with a local screen printer, or running print-on-demand. For a broader view of the merch ecosystem, our merch design guide maps the options.
Sampling, Production, and Fulfillment
Always sample before a bulk run. Wash-test every method: plastisol can crack if under-cured, DTF can peel if pressed wrong, embroidery can pucker on light fabric without proper backing. Approve a physical sample, then run production.
For fulfillment you have three realistic models, each with different cash and quality trade-offs:
- Print-on-demand (Printful, Printify): zero inventory, no setup fees, highest per-unit cost. Ideal for validating designs and DTG art with no upfront risk.
- Local/contract decorator: better unit economics at volume, hands-on quality control, requires upfront capital and storage.
- In-house: maximum control and margin, real equipment and learning curve.
Many brands start on print-on-demand to test the catalog, then move winners to bulk screen printing once demand is proven.
Pricing, Margins, and Cost Structure
A label only survives if the math works. Build every product around a landed cost that includes the blank, the decoration, the woven label and hangtag, the polybag, and a share of your sampling and overhead. The two biggest variables are the blank quality and the decoration method, and they move in opposite directions: print-on-demand keeps cash risk near zero but eats margin, while bulk screen printing demands upfront capital but transforms per-unit economics.
- Tees typically carry the thinnest margin and act as the entry product that pulls customers into the brand.
- Hoodies are the margin driver — a higher blank cost is more than offset by a much higher retail price the customer accepts.
- Caps and accessories often carry the strongest margin per unit because embroidery is a one-time digitizing cost amortized across the run.
A common rule of thumb is to price retail at roughly two to two-and-a-half times landed cost for direct-to-consumer, and higher again if you intend to wholesale. Model the numbers before you fall in love with a blank — a beautiful 8 oz tee that lands at a price the market will not pay is a hobby, not a business.
Legal, Labeling, and Compliance
Three operational details separate a real brand from a print-on-demand store. First, secure the name: search existing trademarks in your category, register the mark as you grow, and lock the matching domain and social handles so the identity is consistent from the woven label to the storefront. Second, meet labeling requirements — most markets mandate fiber content, country of origin, and care instructions, usually on a sewn-in tag or a compliant relabel. Third, respect intellectual property in your artwork: do not lift logos, characters, or copyrighted imagery into your graphics, however bootleg-flavored the aesthetic. These are the kinds of mistakes that get a young label taken down rather than scaled up.
Presenting the Brand: The Lookbook
Once garments exist, the brand needs to be seen as a world, not a product grid. A well-designed lookbook with strong layout and photography is what turns blanks-with-prints into a label customers aspire to. Consistent photo direction, an editorial grid, and a coherent palette do more for perceived value than any single graphic. Shoot it on real people, hold one color grade across the season, and lead with your hero pieces so the line reads as a single coherent statement rather than a folder of separate products.
Frequently Asked Questions
What file format do I need for a clothing brand design?
It depends on method. Screen printing and embroidery need vector art (AI/EPS/PDF) with outlined fonts; embroidery additionally needs a digitized stitch file like .DST. DTG and DTF need a 300 DPI transparent PNG at final print size. Always size art to the actual print dimensions.
What is the cheapest way to start a clothing brand?
Print-on-demand through Printful or Printify lets you launch with zero inventory and no setup fees, paying only per item sold. It is the lowest-risk way to validate designs. Once a design proves demand, move it to bulk screen printing for far better per-unit economics.
Screen printing or DTG for my first run?
Choose screen printing for bold 1–3 color graphics at volume; the high setup cost amortizes into a low per-unit price. Choose DTG for full-color or photographic art in small quantities, where there is no setup fee but each unit costs more. Color count and order size decide it.
How big can a print be on a t-shirt?
Most decorators cap the adult front and back print area around 12×16 inches. Left-chest logos run roughly 3.5–4 inches wide. Always design artwork at the actual final print size so resolution and placement are accurate, and confirm the maximum area with your specific printer.
Do I need to trademark my clothing brand name?
For anything you intend to grow, yes — clear the name first and register the trademark in your category to protect the label as it scales. Before that, at minimum search existing marks and secure the domain and social handles so your identity is consistent across the woven label, hangtag, and storefront.