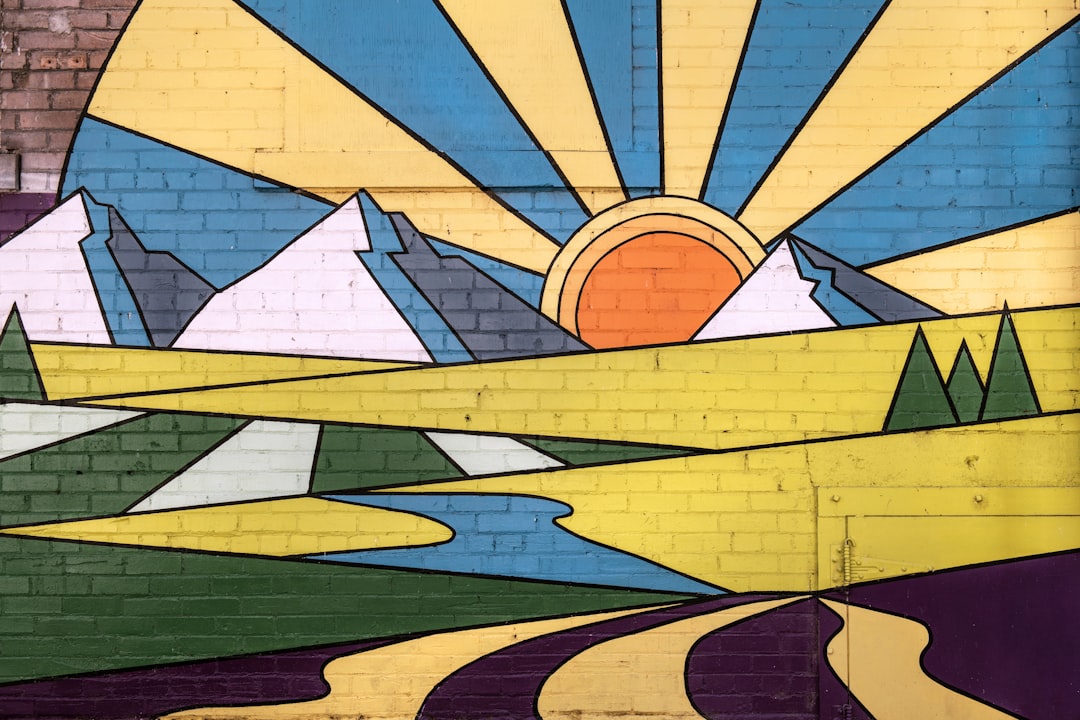
Mural Design: From Wall to Finished Piece
Mural design is the part of environmental graphics where the canvas is a wall and the stakes are permanent — get the surface prep or the scaling wrong and the mistake is fifteen feet tall. This guide moves from the first wall assessment through layout, paint selection, painting, and sealing, so the finished piece survives the weather and the years. It is hands-on by design, not theory.
Murals sit within the wider world of signage and environmental design — but unlike a fabricated panel, a mural is built on site, on an existing surface, which changes nearly every decision.
Step 1: Assess the wall before you design
The wall dictates the art, not the other way around. Survey it first:
- Surface material — brick, stucco, concrete, cinderblock, drywall, and metal each take paint differently and need different primers.
- Condition — flaking paint, efflorescence (white mineral deposits), cracks, and moisture all must be fixed before any art goes up.
- Exposure — direct sun fades pigment; weather and freeze-thaw attack exterior surfaces. North-facing walls last longest.
- Texture and seams — heavy brick texture eats fine detail; mortar lines interrupt thin lines.
- Viewing distance and sightlines — a mural seen from across a street can carry far more detail at scale than one viewed from three feet.
- Permissions — confirm ownership, permits, and any heritage or zoning restrictions in writing.
Step 2: Design to the wall’s proportions
Photograph the wall straight-on, correct for perspective, and design your composition directly over that photo so proportions are exact. Account for obstructions — downpipes, vents, windows, light fixtures — by integrating them into the design rather than pretending they aren’t there. Build the artwork in vector where possible (Adobe Illustrator) so it scales cleanly, and keep color choices realistic for exterior paint, which has a narrower achievable gamut than screen.
Step 3: Prepare the surface
Surface prep is the single biggest predictor of how long a mural lasts. Skipping it guarantees failure.
- Clean — pressure-wash to remove dirt, grease, and loose material; let it fully dry.
- Repair — patch cracks and holes; address the moisture source behind any efflorescence.
- Prime — apply a masonry or all-surface primer suited to the substrate. Primer gives the paint something to grip and seals porous surfaces so color stays true and even.
Step 4: Transfer and scale the artwork
You have three reliable methods to get a small design onto a large wall accurately:
| Method | How it works | Best for |
|---|---|---|
| Grid method | Divide both the reference and the wall into matching squares; copy square by square. | No equipment, daylight work, precise control. |
| Projector | Project the artwork onto the wall at night and trace it. | Fast, detailed, but needs darkness and a flat-ish surface. |
| Pounce / stencil | Perforate a paper pattern and dust chalk through it. | Repeating elements, lettering, traditional sign work. |
Snap a level baseline with a chalk line first; a mural that drifts off-level is obvious and impossible to ignore. Lettering especially demands a true baseline — the same legibility logic from our wayfinding design guide applies when a mural includes readable text.
Step 5: Choose the right paint
Paint choice depends on interior vs. exterior and the finish you want:
- Exterior acrylic / latex wall paint — the durable base for large color fields outdoors; UV- and weather-resistant.
- Mural-grade acrylics (e.g., artist acrylics formulated for exteriors) — for detail and blending over the base.
- Spray paint / aerosol — fast coverage, gradients, and street-art aesthetics; requires masking and ventilation.
- Paint markers and brushes — for fine line work and lettering edges.
Work background-to-foreground and large-to-small: block in big color areas first, then layer detail. Let layers cure as the product specifies — rushing causes lifting and muddy edges.
Step 6: Seal and protect the finished piece
A clear protective topcoat is what turns a painting into a durable mural:
- UV-protective clear coat — slows fading from sun exposure, the number-one killer of outdoor color.
- Anti-graffiti coating — a sacrificial or permanent clear layer that lets future tags be cleaned off without damaging the art. Essential for street-level public murals.
- Matte vs. gloss — gloss saturates color and sheds water but shows glare; matte reads better in direct sun. Choose for the viewing conditions.
Common mural mistakes to avoid
- Skipping surface prep — the most expensive shortcut you can take.
- Designing without correcting the wall photo for perspective.
- Ignoring obstructions until you’re standing at the wall with a brush.
- Using interior paint outdoors, or non-UV pigments in direct sun.
- Forgetting the sealer, then watching the piece fade in two summers.
If your wall piece is closer to branding than fine art — a logo and tagline on a shopfront wall, say — pair this with our storefront sign design guide for permits and brand consistency.
Tools and materials checklist
Having the right kit on hand prevents stalled days mid-project. A typical exterior mural needs:
- Prep: pressure washer or stiff brushes, patching compound, painter’s tape, drop cloths, and the correct primer for your substrate.
- Layout: chalk line, level, measuring tape, charcoal or pencil, and a projector or printed grid reference.
- Paint: exterior acrylic or latex base colors, exterior-grade artist acrylics for detail, and spray paint for fills and gradients.
- Application: a range of brushes, rollers and trays, paint markers for fine lines, and respirators plus gloves for spray work.
- Finish: UV-protective clear coat and, for public walls, an anti-graffiti coating.
- Access: ladders or scaffold rated for the wall height, and safe footing — never improvise this part.
Working with a client or property owner
Most commissioned murals involve someone who owns the wall and is paying the bill. Protect the relationship and yourself: get the scope, location, timeline, and payment in a written agreement, and provide a scaled visual mockup over the wall photo for sign-off before you paint. Clarify who is responsible for permits and who owns the rights to photograph and reproduce the finished work. A clear approval at the mockup stage prevents expensive disputes once the art is fifteen feet tall and permanent.
Frequently Asked Questions
How do you transfer a small design onto a large wall?
The three reliable methods are the grid method (matching squares on reference and wall), projecting and tracing the artwork at night, and pouncing a perforated stencil with chalk. Always snap a level chalk-line baseline first so the mural stays true to horizontal, which matters most for any lettering.
What paint is best for an outdoor mural?
Use exterior acrylic or latex wall paint for large color fields and exterior-grade artist acrylics for detail, because both resist UV and weather. Spray paint suits gradients and street-art styles. Always finish with a UV-protective clear coat, and add an anti-graffiti coating for any public street-level mural.
Do you need to prime a wall before painting a mural?
Yes. Priming is essential surface prep: clean and repair the wall first, then apply a primer matched to the substrate (masonry, all-surface, or drywall). Primer seals porous surfaces, gives paint something to grip, and keeps colors even and true. Skipping it is the most common cause of premature mural failure.
How long does an exterior mural last?
A properly prepped, painted, and sealed exterior mural can last roughly 7–15 years before needing refresh, depending on sun exposure, climate, and paint quality. North-facing walls and UV-protective topcoats extend lifespan significantly, while south-facing walls in harsh sun fade fastest and may need touch-ups sooner.